Root-bound plants have used up most of the usable soil and space inside their pots. Aboveground symptoms can mimic underwatering or overwatering, so diagnosis depends on combining foliage cues with a direct root inspection.
Left unchecked, root binding reduces nutrient uptake, stresses the plant, and shortens productive life in a container.
You’ll know a plant is at its limits when it drinks unusually fast, fails to push new growth, or dribbles roots out of drainage holes. The payoff of catching it early is faster recovery and less stress than waiting for collapse.
Aboveground symptoms to watch for
- Wilting soon after watering — water runs through a compact rootball, or the root tips can’t access moisture.
- Yellowing or brown leaf edges — older leaves show nutrient stress first because the root system can’t keep up.
- Stunted growth and fewer new shoots — seasonal flushes are muted or absent.
- Reduced flowering or fruit set — energy: demanding stages decline when roots are confined.
- Frequent need to water — daily thirst in normal weather often signals an undersized root zone.
Root-level clues that confirm the problem
- Roots are visible at drainage holes or are forming a mat on the pot bottom.
- Circling or spiraling roots pressed against the pot wall.
- Soil that’s mostly roots when you lift the plant — a healthy container should show an even mix of roots and friable potting mix.
- Rootball holds its shape and resists untangling — a compact mass that won’t tease apart.
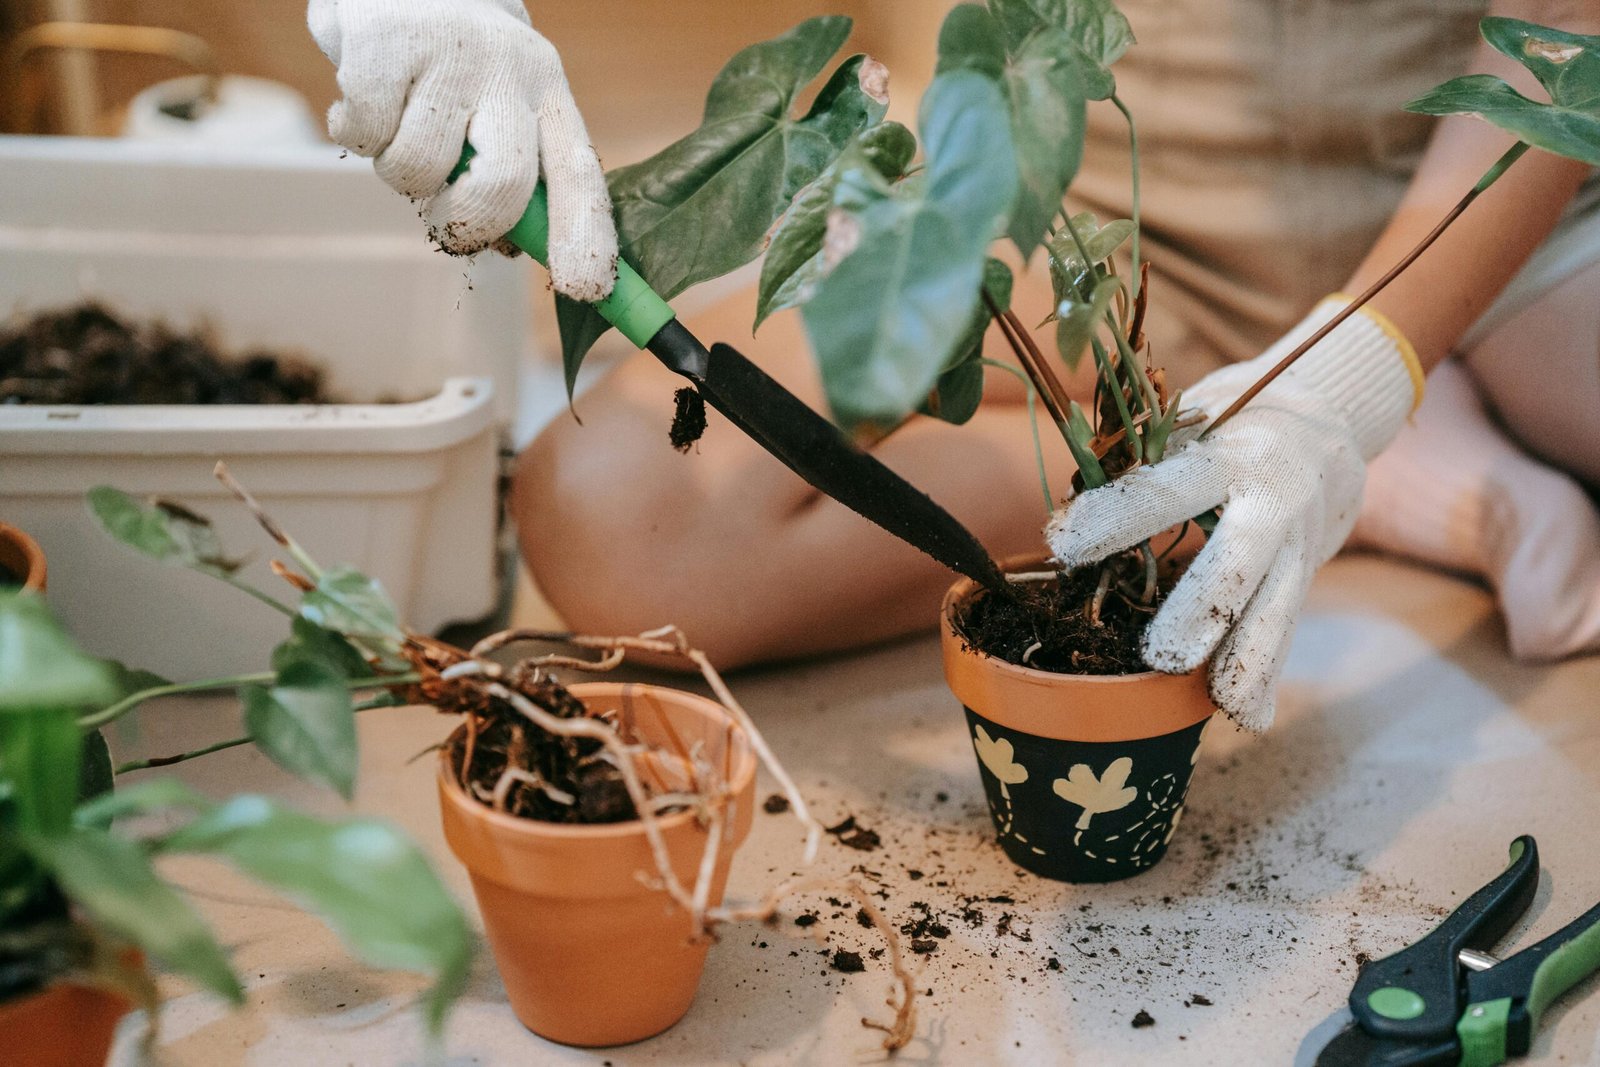
One reliable check: remove and inspect
Water the soil a few hours before inspecting, so it holds together. Lay down a tarp and tip the pot on its side. Hold the stem base and tap the pot rim; if the rootball slides out intact and pale roots form a dense outer ring, the plant is likely root-bound. If you can’t free it without hard pulling, that’s another clear sign.
How to fix root-bound plants: options, trade-offs, and timing
Treatment depends on severity, space, and season. Mild cases often respond to repotting into a slightly larger container and fresh soil. Severe cases may require root pruning, which shocks the plant short-term but enables healthier regrowth. The honest trade-off: pruning buys space but slows aboveground growth for several weeks.
Decide: repot or root-trim?
- Repot when roots occupy 40–60% of the outer rootball or emerge through multiple drainage holes. Increase pot diameter by 2–4 inches for houseplants and by 1–2 container sizes for vegetables.
- Root: prune when a larger container isn’t practical. Remove 20–30% of the outer root mass, shave tight coils, and loosen the center to encourage outward growth.
- If roots are brown and mushy, cut away dead tissue and repot into a fresh mix. Rotten roots signal poor drainage or disease and need decisive action.
Step-by-step repotting workflow
- Choose a pot with good drainage. Line the bottom with a thin layer of fresh potting mix; avoid garden soil.
- Water lightly beforehand. Remove the plant: inspect the rootball, and slice vertically into circling roots at 3–4 points if they’re tightly wound.
- Tease or trim the outer root layer as needed. For very dense masses, remove 20–30% of roots, but don’t strip the plant bare.
- Set the plant so the original soil line sits about 1 inch below the rim; backfill with quality potting mix, firm lightly, and water until it drains.
- Wait 2–4 weeks before regular feeding unless the plant shows clear deficiency signs.
Choosing the right container: size, drainage, and material
Pick a pot that matches the plant’s growth habit and location. Too large a pot holds excess moisture and risks root rot; too small keeps roots cramped. For most houseplants, a modest diameter increase is best. For fast-growing vegetables, step up 1–2 sizes (for example, from 3 to 5–7 gallons).
- Drainage: multiple holes outperform a single tiny hole. Use a cachepot if the outer container lacks holes.
- Material trade-offs: plastic holds moisture longer and is lighter; terracotta dries faster and breathes but is heavier. Choose by site—balconies often benefit from lighter plastic, heavy patios may suit terracotta for stability.
Soil, watering, and light after repotting
Use an airy, well-draining potting mix with perlite or vermiculite for added aeration. Avoid compacted garden soil.
- Watering: fresh mix drains better; saturate thoroughly, then let the top 1–2 inches dry for many houseplants. Vegetables in season need steadier moisture but not waterlogged roots.
- Light: keep light conditions steady. Don’t move a shaded plant into direct sun immediately—harden it gradually over 7–10 days to avoid leaf scorch.
- Fertilizer: start with a half-strength balanced feed after 2–4 weeks, once roots begin to re-establish.
Seasonal timing and frost-sensitive considerations
Repot in active growth periods—spring to early summer is ideal in temperate climates. That’s when roots recover fastest, and transplant shock is minimized. Avoid major repotting in late autumn or deep winter unless necessary.
For frost-sensitive plants, repot several weeks before the last expected frost if moving outdoors. If repotting close to extreme heat or freezing conditions, hold off; the stress window widens with temperature extremes.
Pest and disease prevention after fixing root-bound plants
Compact rootballs invite fungus gnats and root rot. Clean pots and a fresh mix reduce inoculum. After repotting, let the surface dry between waterings when possible to break fungus gnat life cycles. Use a thin layer of horticultural sand or grit if gnats are persistent.
What people miss: old pots can harbor pathogens in cracks—scrub and sanitize with a mild bleach solution (1 part household bleach to 9 parts water) and rinse thoroughly before reuse.
Spacing, long-term maintenance, and potting mix care
Design container plantings so roots have space for 1–3 seasons, depending on plant type. Refresh the top 1–2 inches of soil each season and fully replace potting mix every 2–3 years for long-term containers.
- Spacing: a houseplant that reaches 3–4 feet will usually need a 10–14-inch pot eventually; a perennial herb can thrive in a 6–8-inch pot.
- Inspect roots every 12–24 months for actively growing plants; annual checks suit fast growers and vegetables.
- For heavy feeders like tomatoes, expect to replace more potting mix and increase container size as the season progresses.
Common mistakes and how to avoid them
Choosing a pot that’s too large — oversized containers retain water and cause root rot. Stick to modest increases in size.
- Waiting until severe decline — constant daily watering needs are a reliable early warning; act sooner.
- Stuffing a circling rootball into a larger pot without loosening — that perpetuates poor root architecture.
- Using garden soil — it compacts and inhibits drainage: use formulated potting mixes with perlite.
- Fertilizing immediately after major root cuts — wait 2–4 weeks to avoid burning tender regenerating roots.
Realistic example: cherry tomatoes on a balcony
A balcony gardener keeps cherry tomatoes in 5-gallon buckets. Mid-season, the plants wilt between waterings, and fruiting falls off. Inspection shows roots through drainage holes and a dense rootball.
The fix: move each plant to an 8–10 gallon container, trim20% of tightly coiled roots, replace two-thirds of the soil with a vegetable mix, and stake. Within 2–3 weeks, lateral roots formed, watering was stabilized to every 2–3 days, and flowers set again.
Two brief, concrete observations and one common anecdote-style note
You’ll feel the difference when you lift a pot that used to be light—root-bound containers gain weight because roots replace soil. On hot afternoons, root-bound plants often droop faster than neighbors in larger pots.
Common observation: gardeners often spot roots at drainage holes first—it’s an easy visual clue that the plant needs attention.
In Short
Fixing root-bound plants is straightforward when you spot the signs early: match pot size to plant growth, use the right mix, and inspect roots regularly. The practical result is steadier watering, renewed growth, and healthier flowering or fruiting.
FAQ
How often should I check container plants for being root-bound?
Inspect actively growing plants every 12–24 months. Fast annuals and vegetables deserve seasonal checks; slower houseplants can be inspected every 18–24 months. If a plant suddenly needs daily watering, check immediately.
Can I fix a severely root-bound plant without moving to a larger pot?
Yes. Root pruning and partial soil refresh can extend a plant’s life for a season or more. Remove about 20–30% of outer roots, loosen the mass, and replace some old soil. Expect slower aboveground growth while roots re-establish.
Will extra fertilizer solve root binding?
No. Fertilizer may temporarily mask deficiencies, but it won’t fix limited root volume. Overfertilizing a cramped root system risks salt buildup and root burn. Fix root restrictions first, then resume feeding at half strength after 2–4 weeks.
Which plants tolerate being root-bound best?
Slow growers and many succulents tolerate tight roots longer. Vigorous herbs and vegetables—mint, tomato, pepper—need larger containers and closer monitoring. When in doubt, give aggressive growers extra room from the start.
How do I avoid pests after repotting?
Use clean pots and fresh mix; let the surface dry between waterings to break fungus gnat life cycles. If gnats are present, add horticultural sand to the surface and consider a yellow sticky trap to monitor adults.
Read Next: How Often Should You Water Container Plants? (Real Answer)