Getting a small set of reliable gardening tools makes the first season far less frustrating. The right handful lets you dig, plant, prune, and water without fighting bent blades or sore wrists.
This article explains which tools to buy first, why material and handle choices matter, how to maintain gear, and how sunlight, soil, and watering needs change the choices you make.
Essential hand tools that cover most tasks
Start with a compact kit that handles planting, weeding, and light cultivation. If you buy only one tool, get a well-made garden trowel: it’s the workhorse for potting, transplanting, and small digging jobs.
- Garden trowel — forged carbon steel or stainless blade: 4–6 cm wide with a curved scoop. Forged steel holds an edge and resists bending; a bright handle helps you see it in beds.
- Hand fork (3‑prong) — loosens soil: mixes compost into the top layer, pulls shallow roots. Look for tines spaced about 2–3 cm for good leverage.
- Transplanter — narrower than a trowel for moving seedlings and plugs with minimal root disturbance; skip it if you only grow large transplants.
Materials, ergonomics, and the trade-offs
Forged carbon steel is the longest‑lasting option and can be re‑sharpened; stainless steel resists rust but is often softer. Wooden handles feel warm in cold weather; rubber or elastomer grips reduce shock and stay grippier when wet. The honest trade‑off: stamped, cheap tools are light on the wallet but will bend in rough soil—pay more up front if you expect heavy use.
Here’s the catch: if you garden 30–60 minutes at a stretch, ergonomics matter most. For longer sessions, choose lighter heads and contoured grips to reduce wrist strain.
Cutting and pruning tools that make clean cuts
Good cutting tools reduce plant stress and disease entry. Pick the right cut type for the job: bypass blades slice cleanly on living stems, while anvil cutters are better for dead wood.
- Secateurs (bypass hand pruners) — for live stems up to 20–25 mm. Look for replaceable blades and solid locking mechanisms; many gardeners point to FELCO-style designs for durability.
- Pruning loppers — for branches 25–40 mm: telescopic handles add reach but add weight and can reduce leverage.
- Pruning saw — folding or fixed for woody growth where loppers fail.
Maintenance: sharpen, clean, and store properly
Sharpen bypass blades on the beveled edge and never grind down the flat anvil face. Wipe sap off during sessions with a rag and solvent; sanitize between diseased plants with70% isopropyl or a 1:10 bleach solution, then oil moving parts. Store tools dry—hang them on a pegboard or keep silica gel packets in the toolbox to slow rust.
Digging, turning, and levelling for beds
When beds grow beyond pots, a few larger tools become essential. Choose them to match your soil and body height.
- Garden spade — square or rounded toe for edging and cutting turf. Full‑size spades are about 100–115 cm long; shorter handles suit raised beds or gardeners under 165 cm tall.
- Digging fork — preferred in heavy clay: tines slice through clods and lift without compacting. Aim for 4–5 times for home beds.
- Leaf rake and landscape (soil) rake — leaf rakes clear debris; steel landscape rakes level soil and spread mulch.
- Hand cultivator — a three‑prong tool for aerating and weeding between seedlings.
Match tools to soil, sunlight, and watering realities
Clay demands narrow, sharp tines and sturdy blades; sandy soil benefits from wider blades that move volume faster. In full sun, soil can crust—use a stiff rake to break the surface and mulch to retain moisture. In shaded, moisture‑holding beds, avoid overworking the topsoil to preserve fungal networks and soil structure.
Small scenario: a2 m ×3 m sunny plot on clay. Choose a forged spade and digging fork, a heavy landscape rake, and a hand cultivator. Spend the first 1–2 weekends incorporating compost and breaking clods; after that, weekly weeding and mulching keep the bed manageable.
Watering systems and efficient irrigation basics
Water strategy depends on bed size, slope, pressure, and how often you’re away. The goal is to wet the root zone, not the foliage.
- Watering can —5–10 L with a long spout for seedlings and containers; metal cans last and dent rather than split.
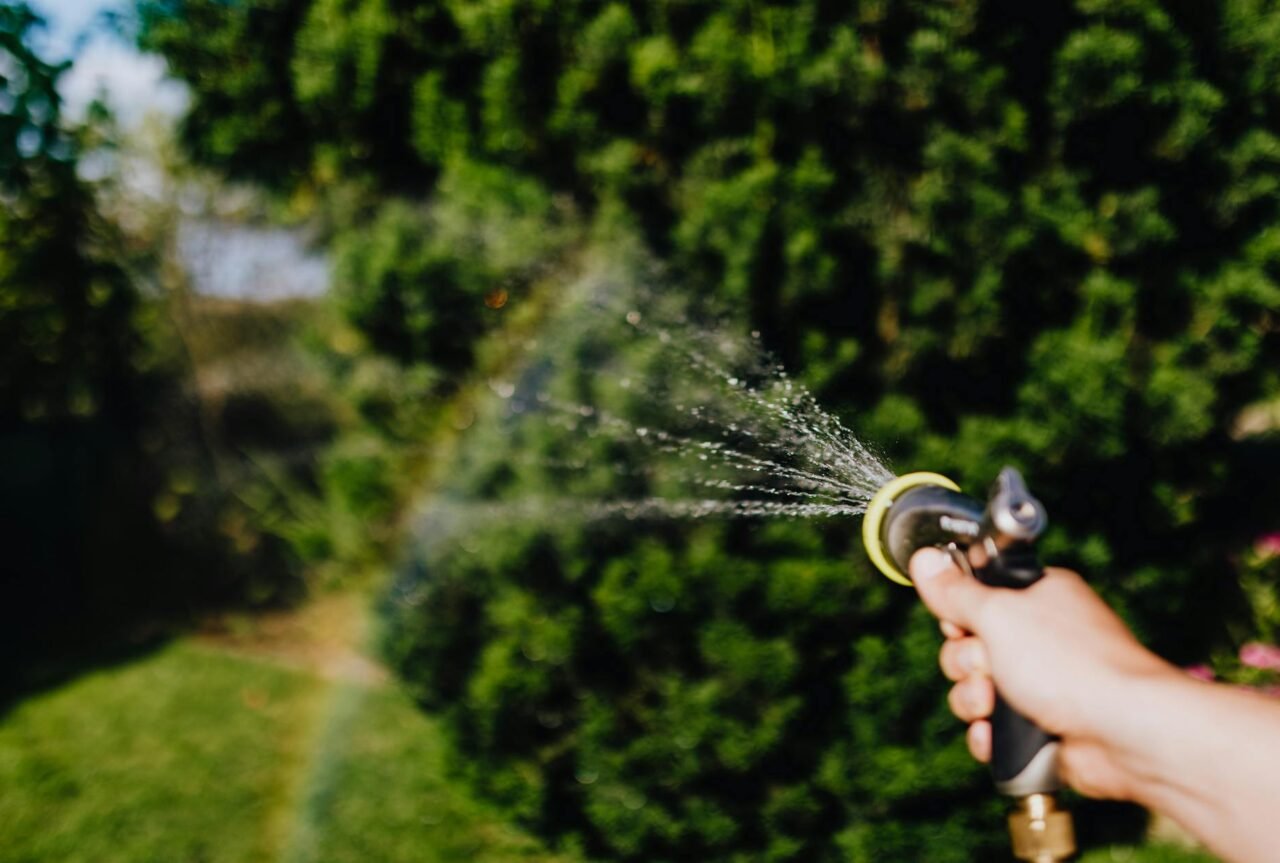
- Hose with spray nozzle — a flexible, kink‑resistant hose with an on/off trigger and multi‑pattern head is a generalist tool.
- Drip irrigation and soaker hoses — deliver water at the base of plants, cut evaporation and reduce leaf wetness; ideal for raised beds and vegetable rows.
Timing, frost, and moisture targets
Water deeply and infrequently to encourage deep rooting: aim to wet the top 15–20 cm of soil. Early‑morning watering reduces disease risk; avoid evening watering when fungal pressure is high.
For frost nights, keep the soil slightly drier the evening before an expected frost to reduce freezing damage to roots. If you want help setting up catchment or storage, see How to Create a Rainwater Collection System.
Protective gear and practical accessories
Simple accessories protect your body and extend tool life.
- Gloves — lightweight for planting and dexterity: heavier leather for pruning and thorny work. Reinforced fingertips last longer when handling wire or staples.
- Kneeler or padded pad — flip it to sit on for low pruning. If knee pain is an issue, a kneeler that doubles as a small bench is worth it.
- Storage solutions — wall racks: pegboards or a small chest keep tools off damp floors. Keep sharp items sheathed and small supplies in labeled containers.
- Labels and markers — weatherproof markers or metal plant labels help with succession planting and spacing.
Pest and disease prevention tools plus compost gear
Sanitation and steady composting reduce pest pressure and boost soil health.
- Hand pump sprayer — for spot treating pests or applying foliar feeds;1–5 L suits most home gardens.
- Compost bin or tumbler — tumblers speed decomposition in warm weather (4–8 weeks); static bins are cheaper but slower.
- Soil thermometer — helps manage compost and time seed sowing (cool‑season seeds 10–15°C; warm‑season seeds 18–24°C).
What people miss: leaving small prunings on the soil can invite pests. Remove diseased material promptly or add it to a hot compost pile to kill pathogens.
Common mistakes gardeners make early on
Buying sets for looks alone — cheap stamped metal and thin handles break in rough soil; upgrade forged tools for heavy use.
- Using anvil pruners on live stems — they crush rather than slice, slowing healing. Use bypass pruners for living tissue.
- Overwatering without checking moisture — use a simple soil probe or moisture meter to avoid root rot, especially in containers.
- Neglecting cleaning — dirty tools spread disease. Keep a small maintenance kit with a cloth, oil, file, and disinfectant near the shed.
Realistic setup: a beginner vegetable bed, step by step
Context: a3 m ×1.2 m raised bed, sunny, clay‑loam soil, limited water supply. Goal: summer salad greens, mid‑season tomatoes, and herbs.
| Step | Tool | Why it matters |
|---|---|---|
| Initial prep (weekend) | Digging fork, garden spade, landscape rake | Fork breaks compaction, spade removes turf, rake levels for even planting depth |
| Planting seedlings | Trowel, transplanter, hand fork | Accurate hole size and gentle handling reduce transplant shock |
| Irrigation setup | Drip hose, connectors, pressure regulator | Targets roots for tomatoes and herbs, cuts evaporation |
| Ongoing maintenance | Secateurs, hand cultivator, compost bin | Pruning and weeding keep airflow; compost restores nutrients |
With tools chosen for clay and a drip line to save water, expect stronger roots and fewer fungal problems. If using a lightweight stamped spade, the opening weekend often ends with a bent blade and slower progress.
Small, lived‑in observations
The handle colour makes tools easy to find in beds matters more than you think—once you’ve lost a trowel in a dark potting mix, you’ll notice. Morning soil feels cool and slightly sticky on clay days; that’s often the best time to plant plugs so they settle without air gaps. Many gardeners find that storing a small maintenance kit by the shed door saves a surprising amount of time.
Common observation: neighbours borrow secateurs and return them blunt—marked tools with a painted stripe to improve the odds they come back functional.
Practical decision factors and trade-offs
Buy quality where you apply force—spade, fork, and loppers. Prioritise ergonomics on repetitive items—trowel, secateurs, and kneeler. If the budget is tight, invest in one high‑quality forged item and supplement with mid‑range pieces. Replaceable parts (blades, handles) extend service life and are usually a better long‑term choice than the cheapest new tool.
Quick pest and spacing tips
Spacing — follow seed packet or plant label spacing and err slightly wider than crowded; airflow reduces fungal issues.
- Pest prevention — remove volunteer seedlings that crowd crops, rotate bed positions yearly when possible, and clean tools after working on symptomatic plants.
- Monitoring — inspect undersides of leaves weekly for early insect or fungal signs; early, targeted action with a hand sprayer limits spread.
FAQ
What basic toolset covers a 2–4 m² vegetable bed?
A trowel, hand fork, full‑size spade or digging fork, bypass secateurs, and a watering can or hose with a gentle nozzle will cover most tasks. Add a heavy‑duty rake for preparing soil and a drip line if water is limited.
How often should I sharpen and oil cutting tools?
Sharpen cutting blades every 6–12 months with regular use; hone mid‑season if you notice ragged cuts. After cleaning, oil metal surfaces and moving joints—especially before winter—to prevent rust and keep mechanisms smooth.
Which irrigation saves the most water for small beds?
Drip irrigation and soaker hoses are the most efficient for raised beds and vegetable rows, reducing evaporation and leaf wetness. They often cut water use by 30–60% compared with overhead watering and are worth installing for beds larger than 1–2 m².
How do I stop spreading disease between plants with tools?
Sanitize blades after cutting diseased material with70% isopropyl alcohol or a 1:10 bleach solution, then rinse and oil. Compost diseased material only in a hot compost system reaching 55–65°C; otherwise, bag and dispose of heavily infected debris.
Practical wrap-up
Good tools reduce effort and increase success. Prioritise forged steel and replaceable parts where you apply force, pick ergonomic grips for repetitive tasks, match tools to your soil and sunlight conditions, and adopt a simple maintenance routine—sharpen, clean, oil—to keep gear working season after season.
For irrigation install tips and seasonal planning, see Planning Next Season’s Garden the Smart Way and How to Extend Your Growing Season Naturally.
Read Next: Basic vs Advanced Garden Tools: What’s Worth Buying
Read Next: How to Build a Starter Gardening Toolkit on a Budget