Planning next season’s garden is less about wish lists and more about clear choices: what to grow, where to grow it, and when to move seedlings outdoors. A short, honest inventory of last year’s yields, a soil check, and a realistic timeline around frost dates cut the usual chaos.
You’ll get steadier harvests, fewer surprise failures, and more usable produce across the season.
Take Stock of Last Season: What to keep and what to drop?
A practical review prevents repeating mistakes. Scan your seed packets, harvest notes, and photos. If you don’t keep precise numbers, a quick tally — how often you picked salad greens, when tomatoes stopped producing, where slugs hit first — points to the biggest fixes.
Garden journal review and yield audit
Pull out every scrap of data: seed packet days-to-maturity, bed maps, and any harvest estimates. Note mismatches between expected and real days to harvest — a listed60–day variety that needed 75 days changes when you start seeds next year. Track recurring issues such as poor germination, pest hotspots, or beds that held water too long.
- Useful metrics: days-to-harvest, usable yield per bed area, and problem recurrence (slug damage, blight, poor germination).
- Decision factor: low yields often trace back to timing or spacing rather than seed quality — check light and pollinator activity before blaming varieties.
Soil tests and bed renovation options
Test pH and macronutrients; local extension labs give region-specific advice and may test for free or at low cost. If pH is off (most vegetables prefer 6.0–7.0), adjust with lime or sulfur according to your timeline — lime works over months; sulfur acts slowly too. Add 2–4 inches of compost to heavy clay to improve structure; sand alone won’t cure compaction.
When to choose raised beds: worth it when drainage or contamination is a real constraint, or when you need earlier spring warming. Trade-offs include upfront cost and limited rooting depth for some crops. If the disease regularly returns in a bed, consider replacing the top 6–12 inches of soil or solarizing the bed for 6–8 weeks over summer.
Set clear goals and prioritize crops
Decide what you want most: steady salads, jars of tomatoes, winter-storable roots, or long rows of beans. Goal clarity shapes spacing, succession plans, and how much you plant in peak windows.
Succession planting and space allocation
Succession planting is the practical core of continuity. Treat beds like schedules: fast crops (radishes,25–30 days) can be followed by medium crops (bush beans,50–60 days) if soil fertility permits. Stagger plantings to avoid a single overwhelming harvest.
Example allocation for a small family garden:
| Bed area | Main use | Notes |
|---|---|---|
| 4′ ×8′ | Tomatoes (2–3 indeterminate) + basil | Stagger planting dates; use support and drip |
| 4′ ×8′ | Succession greens (spring → fall) | Row covers for early/late protection |
| 3′ ×8′ | Root crops (carrots, beets) | Deepened bed with3–4 inches compost |
Denser planting increases yield per square foot but raises disease risk and makes harvesting fiddlier. If you can’t process a large harvest quickly, stagger plantings or plant fewer indeterminate tomatoes.
Design around sunlight, soil, and water
Site selection should favor sunlight first, then soil and water. Those three determine success more than neat geometry. Observe how shadows move across beds through the day and through the season.
Bed orientation, spacing, and irrigation planning
Long beds usually run north–south for even light on both rows; run a trellis on the north side of tall crops so they don’t shade smaller plants. Full-sun crops need 6–8 hours of direct sun; partial-shade crops tolerate 3–5 hours. If a spot only gets 4–5 hours, plant leafy greens and root crops there instead of tomatoes.
- Spacing example: tomato (indeterminate)24–36 inches between plants; bush beans 3–6 inches between plants with 18–24 inches between rows; carrots thin to 2–3 inches in 12–18 inch rows.
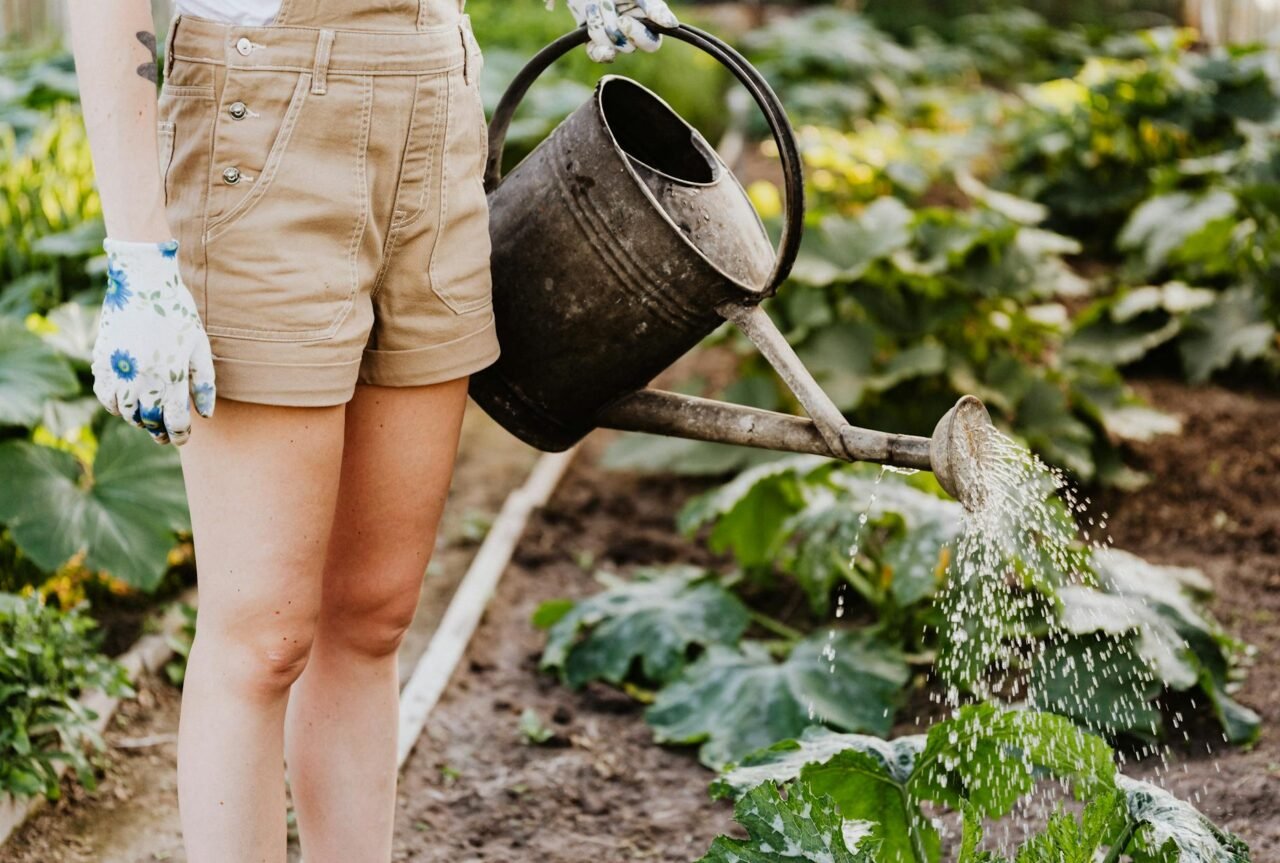
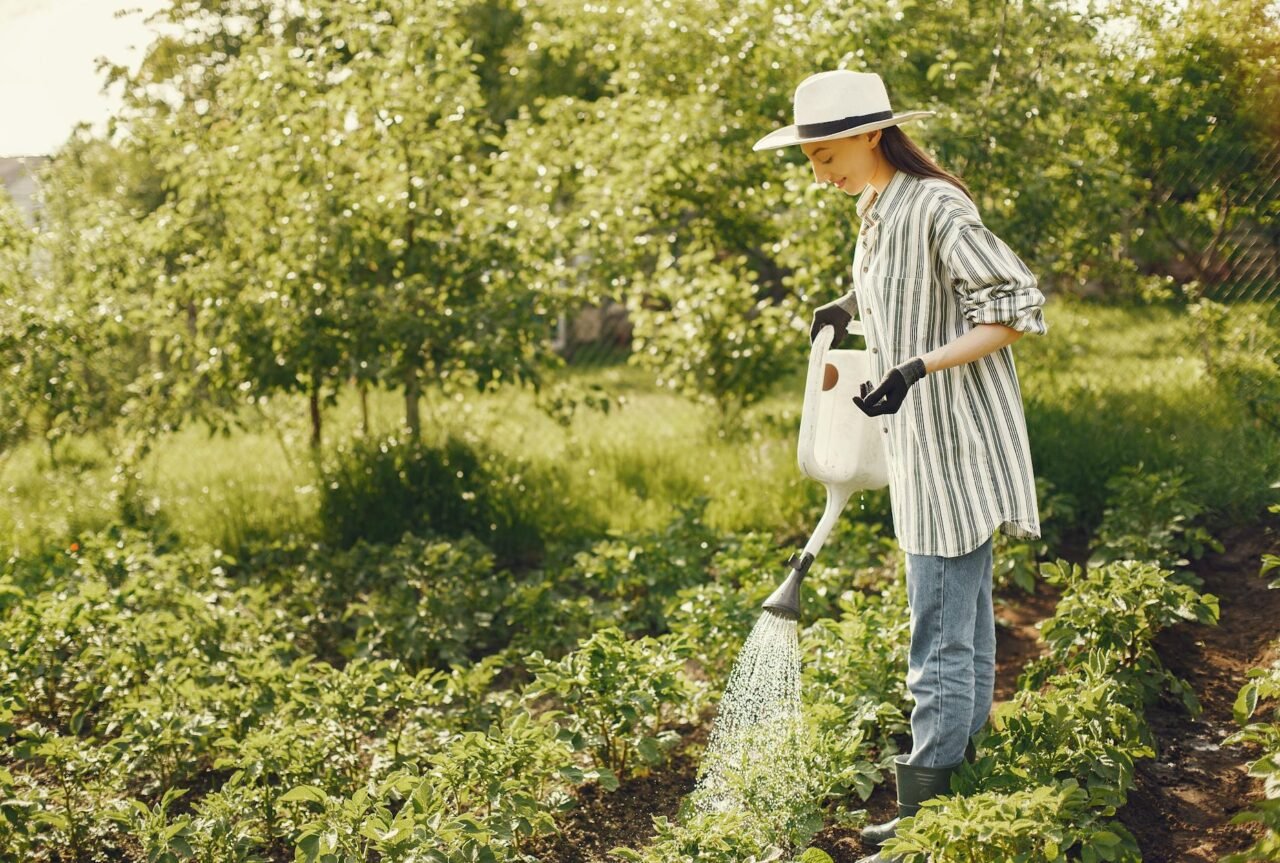
- Irrigation: Drip with a timer reduces disease and evens moisture; a basic kit often costs under US$200 for a small garden. Hand-watering is fine for tiny plots, but factor labor time — if watering takes more than 20–30 minutes per session, plan for more efficient options.
Mulch2–3 inches to conserve moisture and reduce soil splash that spreads fungal spores. For soil care year-round, follow targeted additions based on test results; a balanced approach trumps random fertilizer additions.
Timing decisions and frost-sensitive scheduling

Use average last spring and first fall frost dates as anchors, and build a seed-starting calendar. Count backwards from transplant dates and forward for fall crops. Cold frames and cloches buy 2–6 weeks on either end but require monitoring for temperature and pests.
Seed starting calendar and succession windows
| Timing | Action | Notes |
|---|---|---|
| 6–8 weeks before last frost | Start tomatoes indoors | Harden off 7–10 days before transplant |
| After the last frost | Direct sow beans | Warm soil is needed for germination |
| Late summer | Transplant fall brassicas | Use shade cloth to reduce bolting |
Seed packet claims can refer to days after transplant or after direct sowing; check the fine print. The honest trade-off of season extenders is extra labor and occasional pest sheltering under covers.
Pest and disease prevention, plus winter cleanup
Prevention reduces the need for interventions. Rotate crop families, remove infected debris, and protect seedlings early. Sanitation and simple physical barriers give big returns.
Rotation, sanitation, and physical protections
- Rotate families in a three-year loop: heavy feeders, legumes/light feeders, and roots/greens. If space is tight, rotate subsections within beds.
- Sanitation: remove and compost or discard diseased debris; clean tools with a10% bleach solution for non-porous tools and rinse after.
- Barriers: row covers block flea beetles and early pests, but must be removed for pollination on crops that need bees. Use mulches and windbreaks to reduce soil splash and lodging during storms.
When fungal diseases recur, avoid replanting the same family in that bed for at least two years. For heavy rain or wind protection tactics, consult reputable sources on weather-proofing and structural supports.
Practical example: a 200 sq ft backyard plan
Scenario: a family wants continuous salads,20–30 jars of canned tomatoes, and winter carrots. Concrete allocations and steps produce realistic results.
- Allocate40% (≈80 sq ft) to tomatoes: 6–8 indeterminate plants staggered across two planting dates to spread harvest; use drip irrigation and sturdy supports.
- Allocate20% (≈40 sq ft) to succession greens: sow every 2–3 weeks and use row covers for early spring and late fall protection to extend harvest from March–November.
- Allocate15% (≈30 sq ft) for carrots/beets: loosen soil deeply and add 3–4 inches of compost for good root form; plant in blocks for easier thinning and harvest.
Outcome: steadier supply, manageable canning windows, and fewer processing bottlenecks. The catch: staggering plantings takes attention to the calendar but prevents overwhelming peaks.
Common Mistakes
Overcrowding: perceived productivity can drop yield and increase disease; thin early and follow spacing guidance.
- Skipping soil tests: ad-hoc fertilizer additions often waste money and unbalance the soil.
- Planting everything at once: without processing capacity, you’ll face spoilage or wasted produce.
- Ignoring microclimates: shaded corners or low, wet spots act very differently — treat them as separate micro-sites.
- Neglecting winter cleanup: disease residues are the easiest route to repeat problems next season.
Quick decision rules for soil, sun, and water
If pH is 5.5–6.0: add lime and re-test in 3–6 months; if pH is 7.5+, add sulfur slowly and expect several months for adjustment.
- If you have under 5 hours of direct sun: prioritize leafy greens, root crops, and herbs; skip full-sun tomatoes and peppers in that spot.
- If watering sessions exceed 20–30 minutes across all beds, plan drip lines and a timer to save labor and standardize moisture.
Short-lived observations
The scent of turned compost in early spring signals readiness to plant; you’ll notice soil warms faster where dark mulch was left. A common observation: the first flush of tomatoes often arrives when you least expect to have time to can, so staggering plantings matters.
Many gardeners report a small corner that always floods — treat it as the herb or bog patch rather than forcing tomatoes there.
Summary
Good planning shifts the workload to predictable steps: test the soil, set a seed-start calendar, and design beds for sun and water. Small, consistent choices before the season — appropriate spacing, a rotation plan, and basic irrigation — compound into steadier harvests and fewer surprises.
FAQ
How do I use local frost dates for seed starting?
Find average last/first frost dates from your extension or NOAA, then count back from transplant dates using packet guidance. Start tomatoes indoors 6–8 weeks before transplant and harden off seedlings 7–10 days before moving them out. When in doubt, delay transplanting by a week rather than risk frost damage.
How often should I test soil, and what should I test for?
Test pH and basic N–P–K every 2–3 years, or annually if you amend heavily or see persistent deficiencies. If plants show specific symptoms (yellowing, poor root growth), test for micronutrients and organic matter. Extension labs provide region-specific interpretations that save guesswork.
What’s the most cost-effective way to extend the season?
Start with row covers, cold frames, and mulch. Row covers add 2–4 weeks of protection; cold frames can add up to 6 weeks in spring and fall but require occasional venting. The trade-off is extra monitoring and occasional pest sheltering under covers.
How should I rotate crops in a small garden?
Use a simple three-part rotation: heavy feeders (tomatoes, corn), legumes/light feeders (beans, peas), and roots/greens. Shift families so none return to the same bed within three years. If space is limited, rotate subsections within beds to break pest cycles.
Read Next: How to Create a Rainwater Collection System