After winter, the garden is a revealing map: where frost, snow, rodents, or soggy weather shifted the balance. A Spring Garden Reset does more than tidy beds — it restores soil structure, reduces early pest pressure, and places plants where light, water, and space match their needs. Start with a walk, sense the soil, and resist the urge to rush every task at once.
You’ll notice immediate benefits: beds that have been top-dressed with compost and kept free of repeated foot traffic warm faster, drain better, and produce steadier seedlings.
What to Inspect and Why It Changes Your Plan?
Begin with a short, systematic stroll. Look for split branches, blown mulch, low spots that pooled water, and where leaves collected under shrubs. That quick inventory tells you whether to postpone heavy digging or to start cleaning and pruning.
Soil: structure, compaction, and moisture — the single biggest lever
Take a trowel or your hand and check the soil at several spots. Healthy spring soil holds some crumb when moist and breaks into loose ribbons rather than smearing. If it forms a sticky paste or resists a trowel, it’s too wet to work.
- Use a digging fork or broadfork to lift and open compacted layers instead of turning soil with a spade. That preserves pore structure and fungal networks.
- If the top 2–4 inches are rock-hard, wait for a few warm, dry days or add a 1–2 inch protective mulch until it dries.
- Check moisture at 3–6 inches deep: cool and sticky means postpone; crumbly and dry means you can work and pre-wet before planting.
What people miss: repeated stepping across beds compresses planting zones over the years. Establish permanent paths now — wood chips, gravel, or reclaimed boards — to protect soil life in the long run.
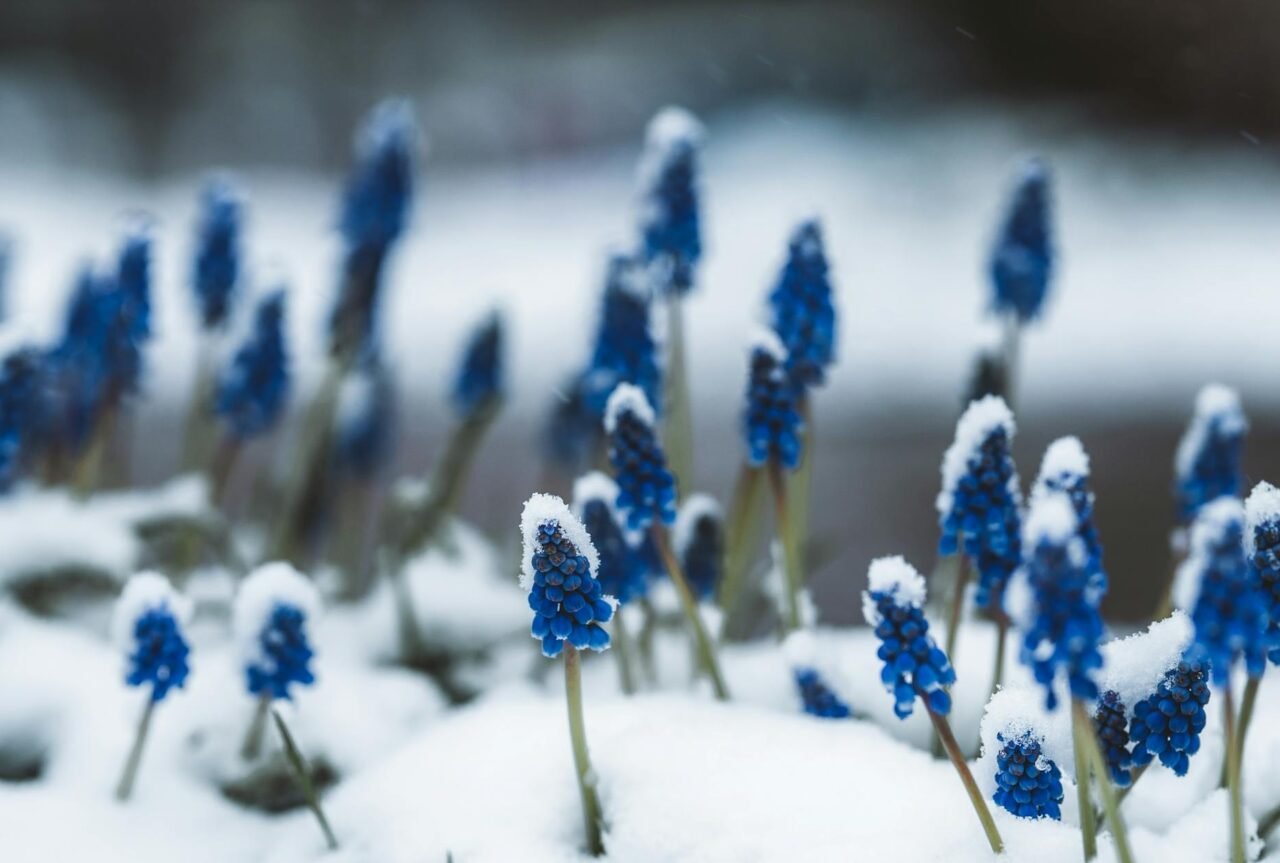
Frost timing and seasonal constraints that alter plant choices
Know your average last frost date from your extension office or NOAA, but expect variation across your yard. For peas and spinach, seeding 2–3 weeks before that average can work if the soil is workable; for tomatoes and basil wait1–2 weeks after.
Use cloches, row covers, or hoop tunnels to stretch early windows, but heavier frosts can still damage tender tissue.
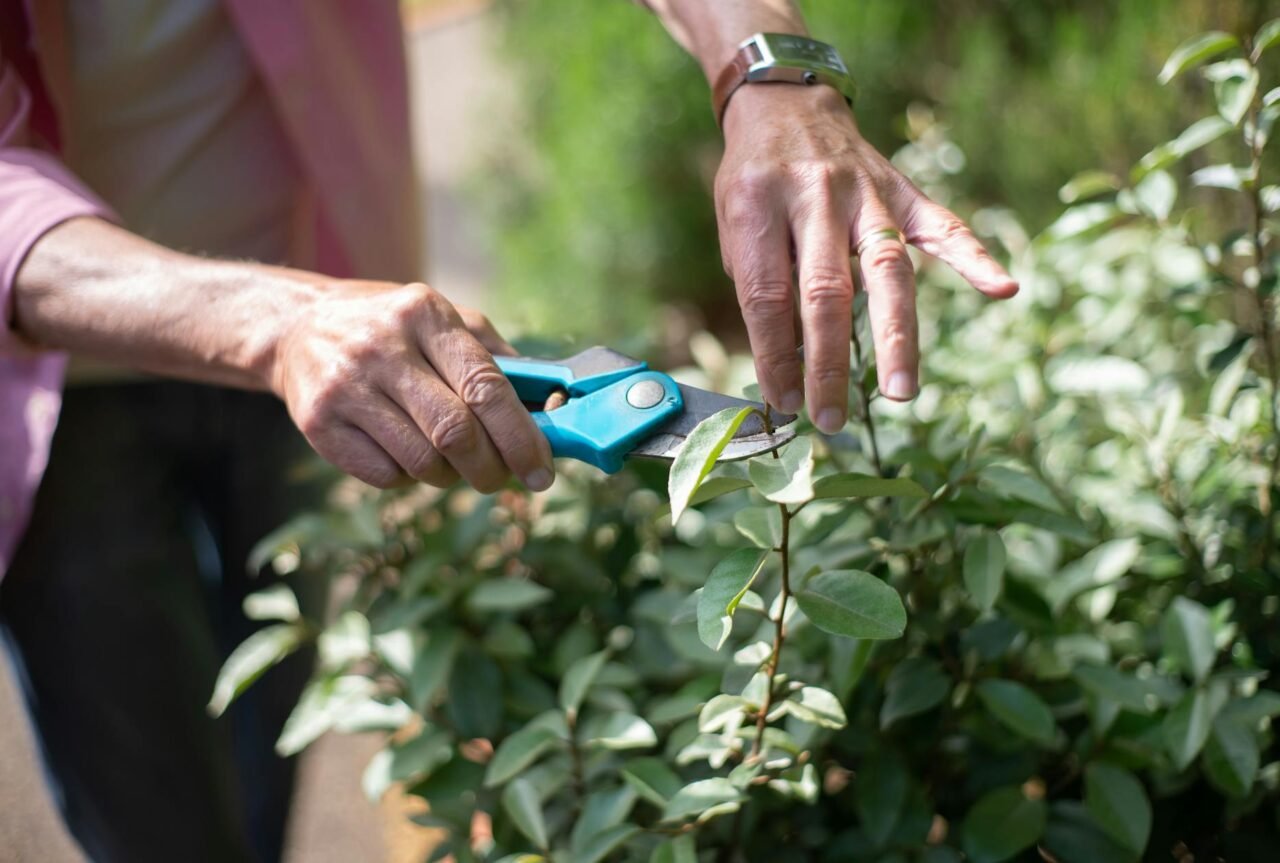
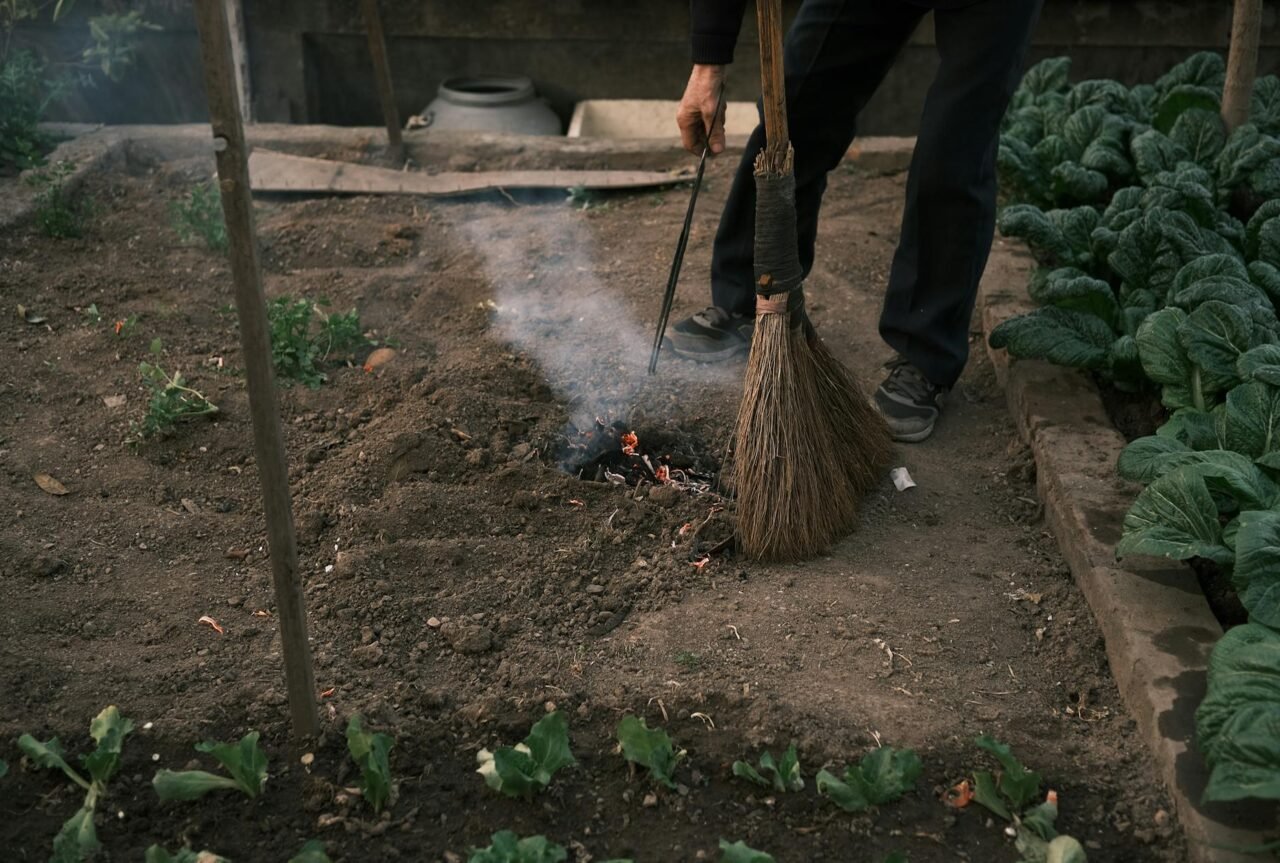
Cleaning and pruning without destroying shelter for beneficials
Spring cleanup requires discernment. Remove hazards and obvious disease sources, but don’t strip every stem and leaf. A light layer of last year’s leaves insulates crowns and feeds soil organisms as it breaks down.
Selective pruning rules
- Prune only dead or clearly damaged wood on shrubs and perennials. Live buds often sit below wintered stems.
- Time shrub pruning: prune spring-flowering shrubs after they bloom; prune summer-flowering shrubs in early spring before new growth emerges.
- Thin crowded perennials by dividing in early spring or fall, depending on species.
Small sensory detail: when you peel back a damp leaf mat, you might smell sweet, earthy compost and see the first earthworms wriggling — a reliable sign the soil food web is waking.
When to leave leaf litter and when to remove it
Keep a thin layer of mulch or leaves over crowns until the soil consistently warms; it reduces temperature swings and erosion. Remove thick, soggy mats that smother shoots or hide slug activity. For beds with a history of fungal disease, rake old mulch away from stems, compost it separately, and replace it with well-aged compost.
Soil preparation: amendments, compost, and how much to work the bed
Soil quality determines most garden outcomes. Aim for increased porosity, balanced nutrients, and active biology that holds water without waterlogging.
How to add organic matter without overworking wet soil
Spread 1–2 inches of well-rotted compost on beds and work it in lightly to the top 4–6 inches with a fork or broadfork. Compost feeds microbes, improves aggregation, and encourages earthworms. If soil tests show specific nutrient gaps, add targeted amendments rather than blanket fertilizer.
- Heavy clay: add 2–4 inches of coarse compost and consider a 1–2 inch layer of horticultural grit if drainage is a chronic issue; avoid repeated deep tilling.
- Sandy soils: increase organic matter and consider a slow-release organic fertilizer based on crop needs.
- pH: test every3–4 years. Lime raises pH slowly; sulfur lowers it. Match timing and quantity to the test.
Decision factor: for raised beds, refresh the top 3–4 inches annually; for in-ground beds, alternate full incorporation every 2–3 years to preserve deeper structure and fungal networks.
Planting plan: sunlight, spacing, and what to plant first
Map beds by sunlight and mature plant size before planting. You’ll feel at home if you zone areas: full sun (6–8+ hours) for tomatoes and most annuals; part shade (3–6 hours) for greens and many perennials; deep shade for ferns and hostas. Sketch a layout and record sun hours over a few days for accuracy.
Which crops to plant first, and spacing guidance?
Sow cool-season crops — peas, radishes, spinach, arugula, and lettuce — as soon as soil is workable; they tolerate light frost and free up space for warm-season transplants. Bulbs like crocus and early daffodils should be left undisturbed where established; if bulbs were missed in fall, small bulbs can still go into well-drained, higher beds early in spring.
- Lettuce and salad greens: leave 12–18 inches between plants, or sow in staggered rows every 2–3 weeks for continuous harvest.
- Bush beans: 18–24 inches between rows or plants, depending on variety.
- Tomatoes and larger fruiting plants: 24–36 inches, depending on variety and staking; allow air circulation to reduce disease risk.
Scenario: a10′×4′ raised bed receiving 6–8 hours of sun — top-dress 2 inches of compost, trellis peas along one long side, sow staggered lettuce in the middle, and reserve the far edge for three tomato transplants after hardening off. Early radishes and lettuce give quick returns while tomatoes mature later without shading young crops.
Watering and irrigation checks before flipping the switch
Spring rains often meet garden needs early, so leave automated irrigation off until the soil requires supplemental moisture. Still, inspect and tune systems before planting.
- Inspect hoses: drip lines, and emitters for winter damage; replace cracked tubing and flush lines to clear debris.
- Test timers and backflow preventers: run short cycles and observe for pooling or dry spots.
- Install soaker hoses under 2–3 inches of mulch to deliver water to roots and reduce foliar wetting that spreads disease.
Watering approach: in cool weather, aim for deep, infrequent watering when the top 1–2 inches dry. Adjust run times to soil type — sandy beds need shorter, more frequent applications than clay that holds moisture longer.
Pest and disease prevention: early monitoring beats late interventions
Spring is the easiest time to catch problems. Scout weekly for slugs, overwintering eggs, and fungal signs on emerging shoots. Hand-pick slugs, use iron phosphate baits that are pet-safe, or set beer traps for small beds. For fungal control, remove affected foliage and avoid overhead watering.
Use cultural methods where possible: crop rotation, diverse plantings, and small habitat areas for predators reduce long-term pressure. Row covers exclude flea beetles and cabbage moths during vulnerable stages; remove covers on warm days to prevent overheating.
Common mistakes and how to avoid them
Working wet soil too early: wait until it crumbles in your hand; otherwise, you’ll compact it and reduce drainage.
- Over-tidying beds: removing all leaf litter destroys habitat for beneficial insects — leave a light layer or compost material instead.
- Planting by calendar rather than soil: use soil feel and a thermometer (soil 50–60°F for many seeds) to time sowing.
- Skipping irrigation maintenance: frozen valves and cracked tubing cause wasted water and dead seedlings — inspect before activation.
- Under-spacing plants: crowding invites disease and reduces airflow — follow seed packets and thin seedlings promptly.
Practical trade-offs: when advice changes?
When soil is heavy clay, hand tools and coarse compost outperform repeated tilling — disturbance breaks aggregates and reduces long-term structure. In sandy soil, adding organic matter increases water-holding capacity but slows drainage; don’t add fine compost at very high rates or you’ll create crusting.
If your beds have recurring fungal problems, be stricter with mulch removal and use more open spacing and drip irrigation to lower humidity around foliage.
Here’s a concise, common observation: gardeners who install permanent paths early rarely regret the lost square footage — the long-term gain in crop health is immediate. Another small sensory moment: around dawn, after a cool night, you’ll see dew beads differently on mulched vs. bare beds; mulched surfaces warm and dry more slowly.
Realistic urban example: A 4′×8′ raised bed with morning sun
a4′×8′ raised bed that gets morning sun and afternoon shade. Priority: quick harvests and vertical space.
Action: top-dress 2 inches of compost, install a trellis on the sunny side, sow radishes and staggered lettuce now, and wait two weeks after the last frost for tomatoes.
Outcome: fast-turnover greens for 4–6 weeks, radishes in 3–4 weeks, and tomatoes planted later with lower frost risk — the trade-off is reduced space for sprawling summer crops but higher early-season production.
Experience-based insights that matter
Test soil every 2–3 years: early pH or nutrient surprises can be corrected with specific amendments rather than guesswork.
- Permanent paths change long-term soil health: invest in them early to avoid compacted lanes.
- Divide crowded perennials in early spring when new shoots are visible — it’s easier than trying to dig around full summer growth.
FAQ
When is the best time to work the soil in spring?
Work soil when it breaks into loose crumbs and doesn’t smear when squeezed — typically surface temperatures of about 45–60°F for many seeds. If soil forms a ribbon or smears, wait; using a broadfork or hand tools is safer than power tilling when borderline.
Should I remove all last year’s mulch and leaves?
No. Remove thick, soggy mats and material with clear disease signs, but leave a light insulating layer around crowns until soil warms. Compost removed material separately and replace with well-aged compost or coarse mulch for beds with slug or fungal history.
How much compost should I add and how often?
Top-dress raised beds with 1–2 inches of well-rotted compost each year. In-ground beds benefit from 1–2 inches every 2–3 years incorporated into the top 4–6 inches using minimal disturbance to preserve deeper structure.
Can I plant warm-season crops before the last frost if I use covers?
Yes, with caution. Covers protect against light frost and speed growth, but require ventilation on sunny days to prevent overheating and added protection on cold nights. Heavy frosts can still damage young tissue, so use cloches or double covers for earlier transplants only when you can monitor and adjust nightly.
How do I prevent early-season pests without chemicals?
Start with cultural controls: rotate crops, clean debris, use row covers, and diversify plantings to attract predators. Hand-pick slugs, use iron phosphate baits for safety around pets, and remove infected leaves promptly. Planting early-flowering natives can help build predator populations that suppress pests later.
Final practical checklist
Walk the beds and note damage (10–30 minutes).
- Do a soil feel test at 3–6 inches before any digging.
- Top: dress 1–2 inches of compost when the soil is workable.
- Establish permanent paths to prevent future compaction.
- Inspect and flush irrigation: test timers before turning systems on.
- Sow cool-season crops as soil allows: delay tender transplants until after local frost risk or use covers.
A Spring Garden Reset is timing plus restraint: prioritize soil health, match plant choice to light and frost constraints, and set up small routines that save time across the season. The payoff is steadier seedlings, fewer disease flare-ups, and a more productive growing year.
Read Next: Summer Plant Care Routine for Healthy Growth
Read Next: Seasonal Watering Guide: When to Water More or Less
Read Next: How Weather Changes Affect Plant Growth