You search “can you survive on balcony food” and find a bunch of pretty pictures of basil and a single, sad cherry tomato. You want to know if it is an actual survival strategy or just an expensive hobby.
You can eat for a full week relying only on the food you grow on your balcony. I just did it. But here is the brutal truth: you cannot survive on lettuce. To actually feed yourself, you must prioritize high-calorie root crops like potatoes in deep containers, stagger your leafy greens for a continuous harvest, and lean heavily on nutrient-dense microgreens.
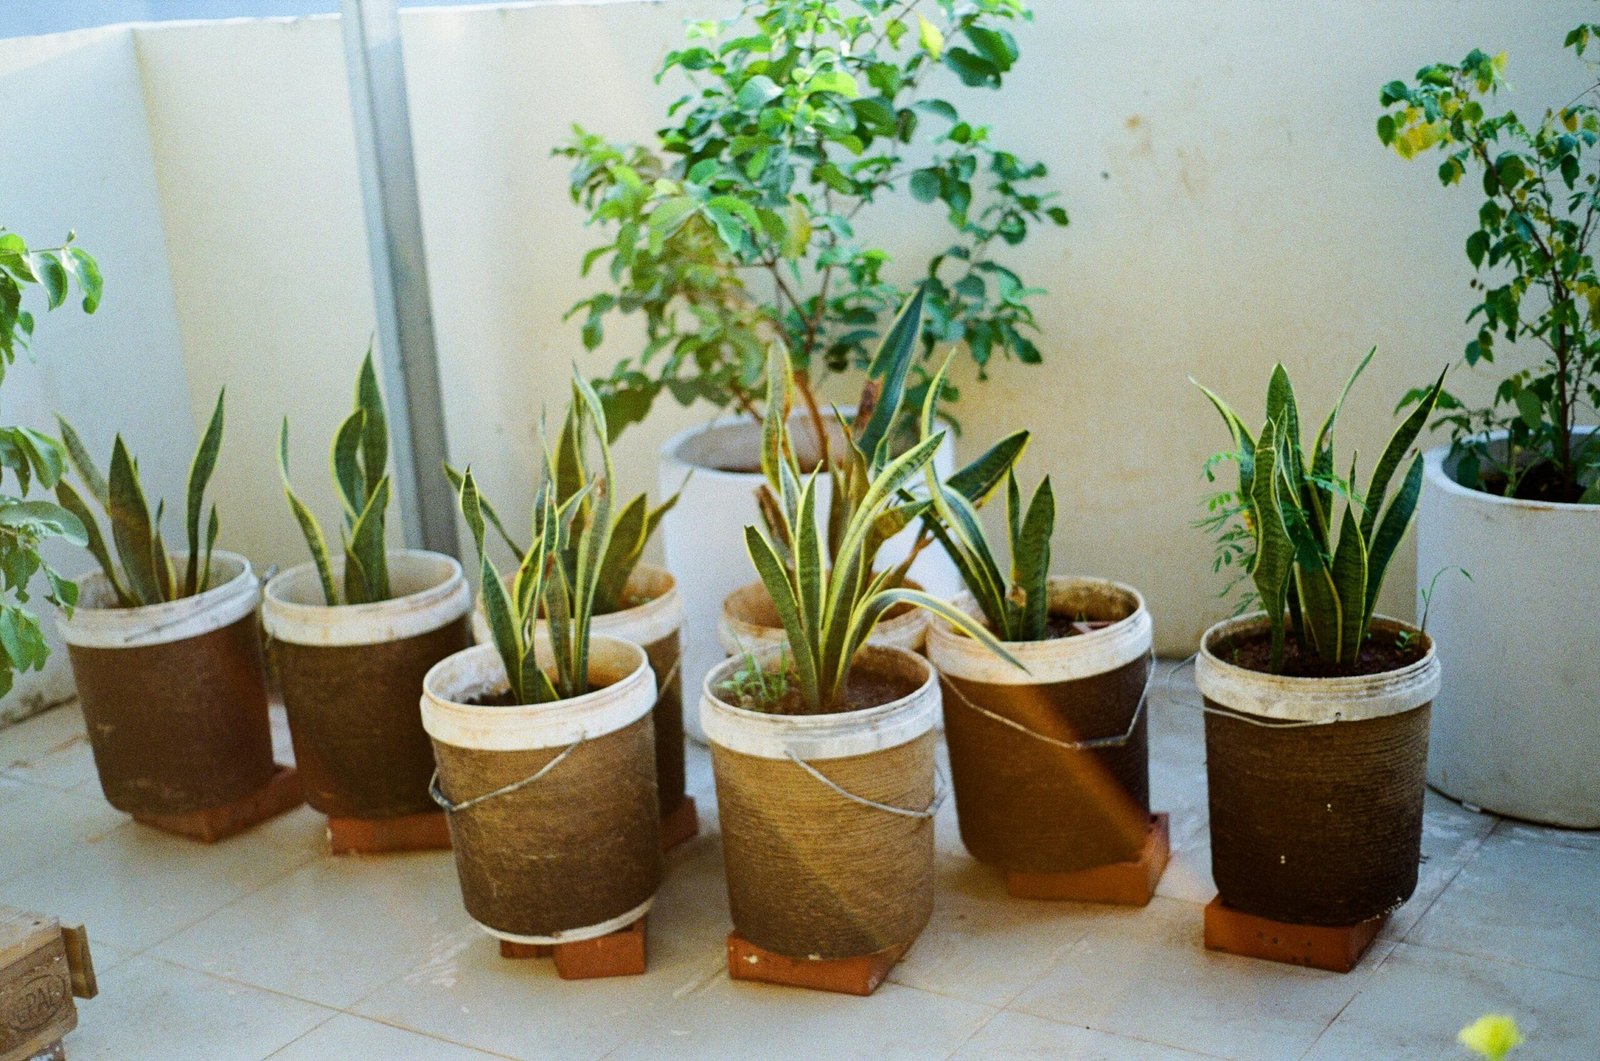
If you only plant salad greens, you will be starving by Tuesday.
Here is exactly how I survived a week eating exclusively from my container garden, the mistakes that nearly starved me, and the exact blueprints you need to replicate it.
The 70/30 Balcony Layout Rule
When you are trying to pull real calories off a balcony, you cannot just plant whatever looks pretty at the garden center. Most of the calorie-dense crops, like corn or wheat, take up way too much space and harvest time to be worth the effort in a container.
To stay fed, I organize my containers using a strict 70/30 rule.
I dedicate 70% of my container volume to heavy, calorie-dense staples that physically sustain me. The remaining 30% is reserved for fast-growing, high-turnover greens and herbs that keep the meals interesting and provide daily fresh vitamins. This split ensures you have heavy meals to burn for energy, without waiting four months for every single pot to mature.
The Calorie Heavyweights (The 70%)
If you want to feel full, you must grow potatoes. Potatoes have the absolute best effort-to-calories ratio for a small space.
You do not need fancy raised beds for this. In the spring, I took regular supermarket potatoes that had sprouted eyes and stuck them into heavy-duty fabric grow bags filled with loose, fertile soil.
You can use pots too, but they must be wider than they are deep. Give yourself at least 12 inches of soil depth so the tubers have physical room to multiply.
My Monday and Wednesday dinners during my balcony week consisted of heavy potato hashes. They kept me going.
I also dedicated large, deep pots to bush beans and beets. Beans are a classic survival food because they are packed with protein and are actually higher in calories than white potatoes. You can plant bush beans tightly about 2 to 4 inches apart, putting several plants into a single large container.
Beets pull double duty. The root is incredibly high in sugar, which boosts your calorie count. A cup of cooked beets gives you about 75 calories, and you can push that past 100 calories if you pickle them. Better yet, you can eat the leafy green tops while you wait for the root to swell. You do not need massive space for them either; you can plant beet seeds just 1.5 inches apart in your containers.
The Continuous Harvest (The 30%)
The remaining 30% of my balcony was a revolving door of greens. This is where most beginners fail. They plant an entire pot of lettuce seeds on a Saturday. Four weeks later, they have 10 heads of lettuce all at once. They eat three, the rest bolt and turn bitter, and then their pots are empty for a month.
You need a continuous harvest.
Never plant all your leafy greens at once. Plant a single square foot or one container with lettuce every other week. This staggers your food supply perfectly.
When it is time to eat, do not rip the whole plant out of the dirt. Cut just a couple of the outer leaves off each plant with a sharp knife. The center will keep growing, allowing you to return to that same plant a few days later for another meal.
My secret weapon during this week was microgreens. When you are eating from a balcony, you worry about getting enough nutrients. Microgreens solve this overnight.
Depending on the variety, they are 4 to 40 times more nutritious than the mature version of the plant. Eating just one ounce of microgreens, a very small side salad, gives you the same nutritional value as eating over 2 pounds of mature greens.
The Mistake That Nearly Starved Me
I need to share a massive failure because container gardening will humble you quickly. I thought cucumbers would be an easy, fast crop to bulk up my lunches. I bought tiny transplants, stuffed them into 6-inch decorative pots, and put them in the blazing afternoon sun.
Within a week, the bottom leaves started turning a sickly, pale yellow. The growth completely stalled.
I made three fatal errors at once. First, I put a heavy feeder in a tiny pot. Cucumbers require massive amounts of nutrients and space; they belong in 20-gallon containers or larger.
Second, I drowned them. Overwatering is the number one reason balcony cucumber leaves turn yellow. Because the pot was too small and lacked proper drainage, the soil stayed soggy, cutting off oxygen to the roots.
Third, I gave them too much sun. Container plants physically cannot handle the same amount of direct sun as plants in the ground because their soil supply is so small.
They dry out and overheat rapidly. You should only give container plants half to two-thirds of the sun they would need if planted in the earth.
To fix yellowing from overwatering, you must stick your finger into the dirt and only add water when the top 1 to 2 inches of soil feel completely dry. You must use pots with drainage holes. If a pot does not have a hole in the bottom, it is a death trap for your plant.
The Daily Grind: Watering and Pests
Your balcony is basically a hostile desert environment for plants. It is hot, the air is often still, and the pots are dense.
This creates a paradise for pests. Mid-week, I went to harvest spinach for a salad and found tiny bite marks and a colony of aphids clinging to the undersides of the leaves. Do not panic, and do not buy toxic chemical sprays for food you are about to eat.
You can kill aphids with a simple DIY soap spray. Mix 1 teaspoon of mild liquid soap into 1 liter of water. Spray this mixture directly on the affected leaves, making sure to hit the tops and the bottoms, early in the morning. Repeat this every 3 to 5 days until the bugs are gone.
The other daily grind is watering. Container plants need water every single day during warm weather. If you miss a day, they wilt. If you miss a weekend, they die.
To survive this without becoming a slave to the watering can, I built DIY self-watering planters. You take a deep, watertight planter and create a false bottom inside it using PVC pipe or plastic cups. Underneath that false bottom is an empty water reservoir.
You then make a “wicking chamber” by poking holes in a plastic cup, setting it in the reservoir, and packing it incredibly tight with damp potting soil. The soil in the cup acts like a sponge, pulling water from the bottom reservoir up into the main planter bed where your roots are. You just run a piece of 1.5-inch PVC pipe down the inside edge of the planter so you can pour water straight down into the reservoir.
The Dirt on Soil
Do not buy the cheapest bag of dirt at the hardware store. In a container, the soil is the plant’s entire world. If it lacks nutrients, your plants will suffer from nitrogen deficiency, which causes pale, spindly growth and yellowing leaves.
Make your own mix. Use a ratio of 1/3 compost, 1/3 topsoil, and 1/3 coarse sand or coco coir. Throw in a handful of worm castings for slow-release nutrients.
Do you need to throw all this expensive soil away at the end of the year? Absolutely not. That is a massive waste of money. Leave the old soil in the pot, pull out the dead roots, and simply add a 2 to 3-inch layer of fresh compost right on top. The nutrients will slowly trickle down, rebuilding the soil life naturally.
Your Action Step
Eating from my balcony for a week was exhausting, deeply humbling, and incredibly rewarding. You learn exactly what it costs the earth to produce a single calorie.
You do not need to build a massive garden today. Do this instead: Go to your kitchen right now. Find one potato that has started to sprout eyes in the back of your pantry. Get a heavy-duty reusable grocery bag, roll down the sides, fill it with 12 inches of potting soil, and bury that potato in the center.
Water it until the soil is damp. You have just planted your first real meal.