Your tomato leaves are turning a sickly yellow at the bottom, the edges are getting crispy, and your pepper plants are dropping their blossoms before they even open.
You did everything right. You bought the expensive $30 soil test kit. You boxed up your dirt, mailed it to the laboratory, waited two anxious weeks, and followed their fertilizer recommendations to the exact letter. But your plants are still dying.
Why? Because you did the one thing that makes every single number on that expensive lab report completely useless.
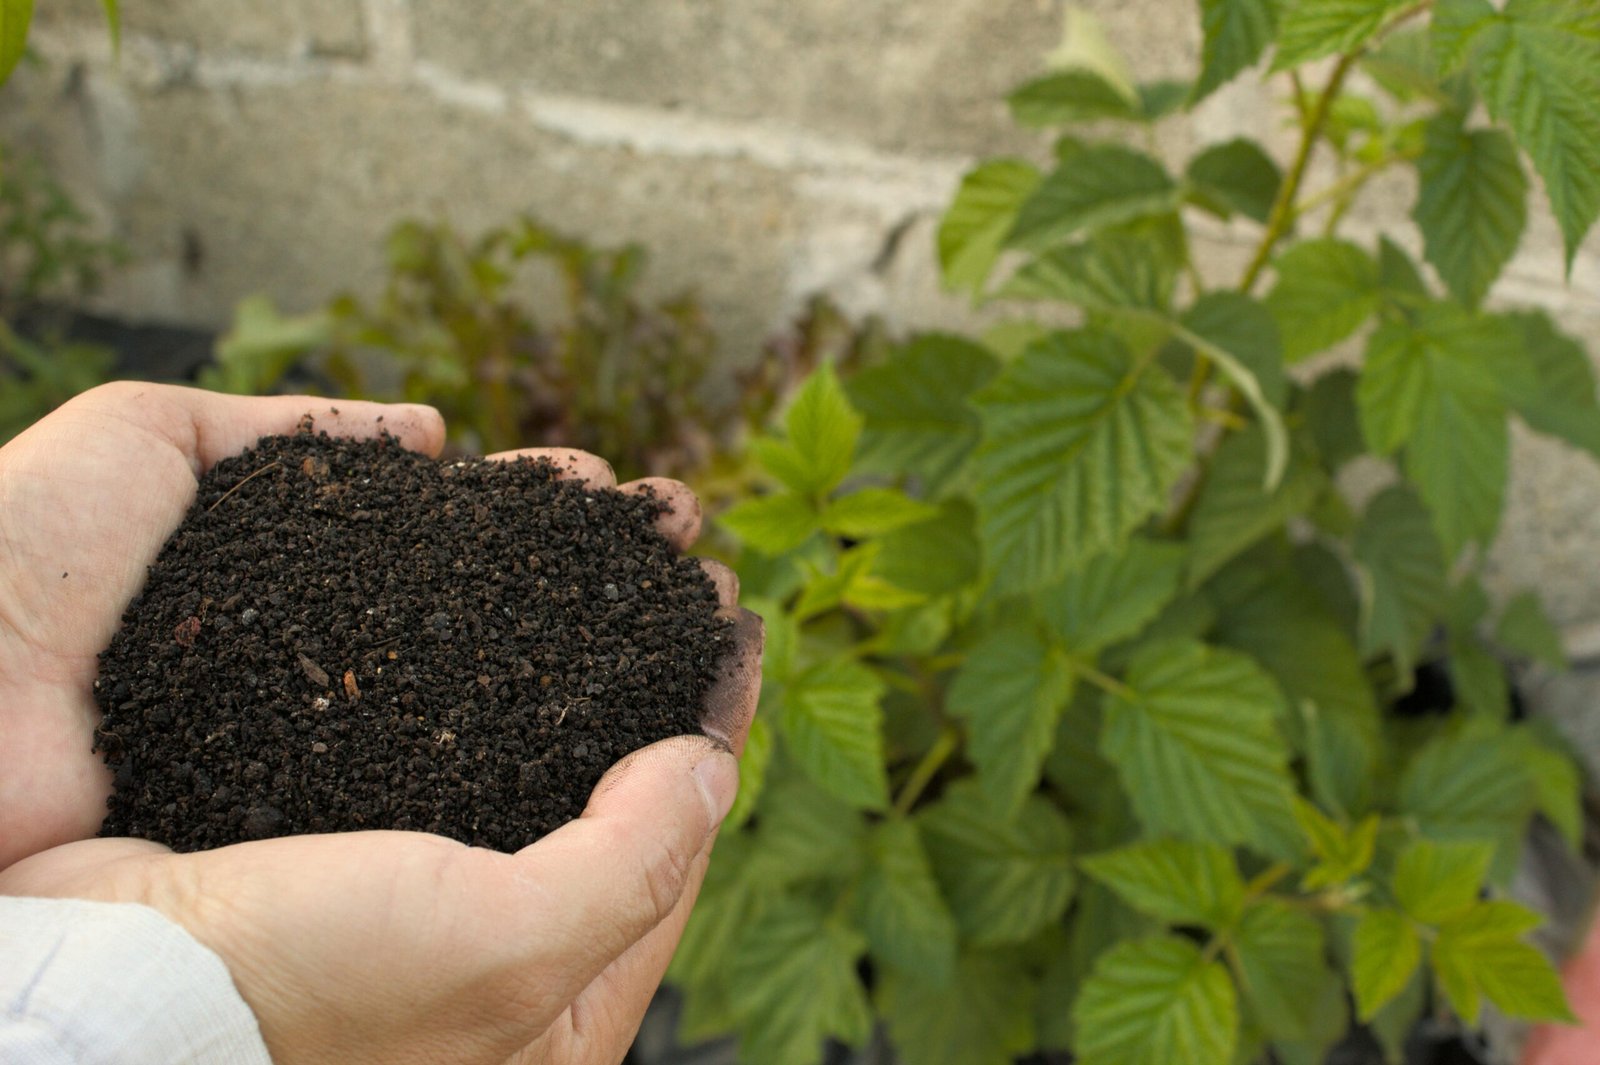
You took your soil sample from the top two inches of the ground.
If you scrape your soil sample from the surface, your test results mean absolutely nothing. You must dig a hole and pull your dirt from the “root zone” exactly 6 to 8 inches down. The top two inches of your garden are a lie.
That surface layer is full of un-decomposed mulch, leftover fertilizer from last week, and blown-in organic matter. The roots of your vegetables do not live there. They live deeper. If you test the surface, you are testing a mirage.
The Two-Inch Lie
Nutrients move. They do not stay where you put them. Nitrogen washes away fast with heavy watering. Phosphorus stays locked in place exactly where it lands. When it rains, water pushes the soluble nutrients down into the soil profile.
If you test the top layer, you might find zero nitrogen. The lab will tell you to add 3 pounds of blood meal per 100 square feet. But that nitrogen did not disappear. It just washed down to the 6-inch mark, where the roots are happily drinking it up.
So, trusting the faulty test, you dump massive amounts of new fertilizer on top. The next time it rains, all that new nitrogen washes down into the root zone. Now the roots hit a toxic, concentrated wall of nitrogen. They burn up, the leaves turn yellow, and your plant dies from chemical toxicity.
When you top-dress a bed with compost, you create a biological hot zone. The top two inches are teeming with bacteria, fungi, and earthworms actively breaking down organic matter. This creates an intense spike of raw nutrients right at the surface line.
If you scoop this hot zone into your sample bag, the lab equipment will register an organic matter content of 15 percent or even 20 percent. A normal, healthy garden soil actually holds about 4 to 5 percent organic matter.
The lab computer will see that 20 percent number and assume your soil is incredibly rich. It will spit out a report telling you that you do not need any fertilizer for the next three years.
But beneath that 2-inch hot zone, your actual root zone might be starved, sitting at a miserable 1 percent organic matter. The top layer lied to the computer, the computer lied to you, and now your plants will starve to death while you think your soil is perfect.
A $50 Mistake
I learned this the hard way four years ago. I had a beautiful 4×8-foot raised bed dedicated entirely to Roma tomatoes and jalapeños. I wanted a massive salsa harvest. I took a soil test in early April, but I was lazy. I just scraped a cup of dirt off the top of the bed with a hand shovel.
The results came back showing my soil was completely dead. The report said I had a pH of 5.8 and almost zero calcium. The lab told me to dump 4 pounds of agricultural lime and a heavy dose of synthetic 10-10-10 fertilizer immediately.
I followed the instructions. Two weeks later, my tomatoes curled up into tight little fists. The green leaves turned black around the edges. I had poisoned my own garden.
I finally dug down with a real shovel. Right below that 2-inch surface layer of peat moss I had tested was a dense, rich layer of beautiful soil that was already perfectly balanced from years of proper care.
I had double-dosed them. I lost 12 tomato plants and harvested exactly zero jalapeños that year. All because I was too lazy to dig a 6-inch hole.
How to Dig the Perfect Sample?
How do you take a sample that actually tells the truth? You need the right tools and the right depth.
First, get a clean plastic bucket. Do not use a galvanized metal bucket. Galvanized steel contains zinc. If the zinc flakes off into your soil while you are mixing it, the lab will tell you your garden is contaminated with heavy metals. Use a simple $3 plastic bucket from the hardware store.
Grab a clean stainless steel trowel. Go to your first spot in the garden. Push the trowel straight down into the dirt, at least 6 inches deep. Pull out a cone of soil and throw it away.
You want a clean, vertical wall in the hole. Now, take your trowel and scrape a 1-inch thick slice right down that vertical wall, from the surface all the way down to the 6-inch mark. Put that vertical slice in your plastic bucket.
This vertical slice gives you a perfect cross-section of what your plant roots actually experience as they grow downward.
The Zig-Zag Rule
One hole is not enough. Your garden soil changes drastically every single foot. A spot where a dog peed last month will test differently from a spot where a rotting leaf pile sat all winter.
You need to take samples from 10 to 15 different spots in the exact same planting area. Walk in a zig-zag pattern across your vegetable patch. Dig your 6-inch hole, toss the cone, take your 1-inch vertical slice, and drop it in the bucket.
Once you have 15 slices in your bucket, smash them up. Break apart the dirt clods with your hands. Pull out rocks, earthworms, and thick roots. You want a fine, uniform mix. Take exactly 2 cups of this blended soil, put it in a clean plastic bag, and send that specific mix to the lab.
Keep Your Zones Isolated
Do not mix your front yard soil with your backyard raised bed soil. This is the second biggest mistake people make, right after shallow digging.
Your raised bed is a carefully controlled environment. Your front lawn is compacted dirt that has been walked on for twenty years. If you mix 5 scoops from the lawn and 5 scoops from the raised bed, the lab gets a Frankenstein sample.
The results will give you an average of two completely different environments. You will end up putting the wrong amendments in both places. Treat every distinct growing area as a completely separate test. Pay the extra $15 to test the raised bed separately from the lawn. It will save you $100 in wasted fertilizer later in the season.
The Rules for Raised Beds and Containers
If you grow in raised beds or containers, your soil testing rules change slightly. You built that raised bed. You probably filled it using a specific recipe, like the classic 70/30 rule—70 percent topsoil and 30 percent compost.
Because raised beds drain water much faster than flat ground, nutrients wash out at double the speed. You might water your raised bed every 2 days in the summer heat. Every time water flows out of the bottom of the wood frames, it takes soluble nitrogen and potassium with it.
When testing a raised bed, dig down 8 inches instead of 6. Raised bed soil is incredibly loose, meaning the tomato roots dive much deeper, much faster than they do in compacted ground dirt. You need to know what is happening at the very bottom of that wooden box.
Containers are a different story. Never test potting soil from a 5-gallon bucket or a fabric grow bag. Lab tests are calibrated for real mineral soil—sand, silt, and clay. Commercial potting mixes are mostly peat moss, perlite, and pine bark.
The chemicals used in a commercial testing lab will react violently with the peat moss and give you wildly inaccurate results. If your container plants are dying, do not test the soil.
Throw the spent potting mix into your compost pile and start fresh next season.
Timing is Everything
When you test matters just as much as how deep you dig. Never take a soil sample within 8 weeks of adding fertilizer, compost, or fresh manure.
If you test too soon after feeding your garden, the lab is just testing your fertilizer, not your native soil. Your phosphorus levels will look insanely high, and you will get bad advice.
Never test muddy soil. Do not take a sample right after a heavy rain or immediately after running your sprinklers. Wet soil breeds bacteria in the plastic shipping bag while it travels in the mail. That bacteria eat the nitrogen inside the bag, changing your test results before the box even reaches the lab facility.
Wait exactly 3 days after a heavy rain before digging your samples. If the soil still feels like wet clay, spread it out on a newspaper in your garage for 24 hours to air dry before bagging it.
The absolute best time to test is late October or early November. The summer crops have eaten up the available nutrients, giving you a true, stripped-down baseline of what your soil actually looks like.
Plus, testing labs are empty in the fall. You get your results back in 5 days instead of waiting 21 days during the spring rush in April. If your fall soil test says you need lime to raise the pH, you have time.
Lime takes exactly 6 months to break down and actually change the soil chemistry. If you apply lime in May based on a spring test, your plants will not feel the benefit until November.
By then, they are already dead from the frost. Fall testing gives your winter amendments time to work.
Decoding the Numbers
When you finally get the email with your results, ignore the fertilizer recommendations for five minutes. Look straight at the pH number.
Soil pH is the master key to your entire garden. If your pH is wrong, adding fertilizer is like pouring expensive premium gas into a car with no engine.
Most vegetables want a pH between 6.2 and 6.8. At this exact range, the soil unlocks the nutrients and lets the plant roots drink them up. If your soil is too acidic—say, 5.5—the roots physically cannot absorb phosphorus or calcium, even if the soil is packed full of it. You could dump 10 pounds of bone meal into the bed, and your tomatoes will still get blossom end rot because the low pH keeps the calcium locked away.
To raise the pH by exactly 1.0 point in sandy soil, you need 4 pounds of pulverized agricultural lime per 100 square feet. If you have heavy clay soil, you need 8 pounds of lime per 100 square feet. Do not guess this part. Measure your garden bed with a tape measure so you know exactly how many square feet you are treating.
Many older gardeners will tell you to dump wood ash from your fire pit onto the garden to fix your pH. Do not do this without a test. Wood ash acts exactly like lime, but it raises the pH violently and rapidly.
If your soil test says your pH is already sitting at a perfect 6.5, dumping a bucket of winter wood ash onto that bed will spike the pH past 7.5. Suddenly, your iron drops out of solution.
Your plant leaves will turn bright yellow with dark green veins, a classic sign of iron deficiency caused entirely by high pH. Use the exact poundage of lime the soil test recommends, and nothing else.
The Big Three: N-P-K
Next, look at the big three: Nitrogen (N), Phosphorus (P), and Potassium (K).
Nitrogen makes leaves green and pushes fast growth. Phosphorus makes strong roots and heavy flowers. Potassium fights off disease and builds tough plant cell walls to survive droughts.
Most soil tests will show low nitrogen. Nitrogen is a ghost in the garden. It evaporates into the air as a gas on hot days, and it washes away with heavy rain. If your test shows low nitrogen, do not panic. This is completely normal. Plan to add 2 pounds of organic feather meal or blood meal per 100 square feet exactly two weeks before you plant your spring seedlings.
Pay very close attention to your phosphorus numbers. Many home gardens actually suffer from toxic, excessively high levels of phosphorus.
Why does this happen? Because gardeners use balanced 10-10-10 synthetic fertilizers year after year out of habit. Plants use a massive amount of nitrogen, but very little phosphorus. The unused phosphorus builds up in the soil year after year like a poison. It never washes away.
If your test shows high phosphorus, immediately stop using balanced fertilizers. Switch to a nitrogen-only fertilizer source like blood meal, which is rated 12-0-0.
Testing your soil is the only way to stop guessing and start growing. But a test is only as honest as the dirt you put in the bag. Stop scraping the surface. Stop sending labs bags of undecomposed mulch and top-dressing. Dig deep, mix thoroughly, and test at the right time of year.