You were out there for twenty minutes. Just long enough to pull a few weeds and deadhead the marigolds. Now you’re on the couch with a heating pad, your spouse is giving you that look, and you’re googling whether kneeling on a foam pad actually helps or if you’re just going to hurt in a different position tomorrow.
After my L4-L5 herniation three years ago, I spent an entire spring watching my peas climb their trellis from my living room window because I was too stubborn to admit I needed to change everything about how I gardened.
The foam pad? It helped for about six minutes. Then my knees hurt, my lower back seized up, and I crawled inside feeling like I’d lost a fight with a lawn mower.
Stop bending at the waist completely. Zero waist bends. Not “try to bend less.” None. Every single motion in your garden from this point forward starts with your hips or your knees, never your spine.
That one rule, followed strictly, will eliminate 80 percent of gardening back pain within two weeks. The rest is about tools, timing, and learning to work like someone who plans to garden for forty more years instead of four.
The position that changes everything (and looks ridiculous)
I garden sitting on the ground. Not kneeling. Sitting. Like a toddler playing with blocks.
Here’s the mechanics: Sit flat on the ground with your legs stretched out in front of you or crossed. Your spine stays neutral, not rounded forward, not arched back. From this position, everything you need is at or below your shoulder height. Weeding? The weeds are right there. Planting? Your trowel works at the hip level. Harvesting beans? You’re already low enough.
The first time my neighbor saw me doing this, she asked if I’d fallen. But here’s what’s happening anatomically: When you sit, your hamstrings and hip flexors stop pulling on your pelvis. Your pelvis stops tilting. Your lower spine stops compensating. The muscles along your spine can actually relax for the first time since you walked outside.
I learned this from a physical therapist after my second round of steroid injections failed. She watched me demonstrate how I “safely” knelt on a pad and immediately said, “Your back is arched in kneeling.
You’re just trading one problem for another.” She had me sit on the floor of her office and weed a fake plant in a pot. I thought she was insane. Then I did it for twenty minutes and stood up without pain for the first time in months.
The real numbers: Start with ten minutes sitting. That’s it. Your glutes and core aren’t used to supporting you this way. Add five minutes every three days. Within two weeks, you’ll comfortably sit for forty minutes.
Get a garden cushion that’s at least two inches thick. I use a stadium seat cushion that costs fourteen dollars. Don’t buy the expensive “garden kneeler” that flips into a bench. You won’t use the bench setting because getting up from it still requires a back-bending motion to stand.
Getting up without looking like a beached whale
The sitting position solves the work problem, but creates a new one: how do you stand up?
Do not do the thing where you put your hands on your lower back and push. That compresses your lumbar discs. Do not roll onto your hands and knees and then stand; that works for people under forty with healthy spines. For the rest of us, it’s a fast track to a spasm.
Here’s the actual method, and I need you to practice this inside first, on carpet, before you try it in the mud:
From sitting, roll onto your left side. Not your back, your side. Bend both knees. Put your right hand flat on the ground near your chest. Your left arm stays along your side. Push up with your right arm until you’re propped on your elbow.
Pause. Then push up onto your right hand until your arm is straight. Your body is now in a side-lying position with a straight arm. Swing your top leg (right leg) forward so both feet are flat on the ground. Now push up to standing using your legs only; your back stays straight the whole time.
It sounds like a lot of steps. It takes about four seconds once you’ve done it ten times. I practiced it while watching television for two nights. Now I don’t think about it.
The mistake I made for six months: I tried to stand up by putting both hands behind me and pushing. This works for able-bodied yoga instructors. For me, it twisted my sacroiliac joint and caused a week of limping. Don’t do that.
Your new favorite tool costs twelve dollars
Long-handled tools are obvious. Everyone recommends them. But no one tells you that most long-handled tools are designed for people six feet tall with perfect biomechanics, and they’ll actually make your back worse if you buy the wrong ones.
Here’s the specific measurement: When you stand upright with your arms hanging naturally at your sides, the handle of your tool should reach the crease of your wrist. Any shorter and you’ll hunch. Any longer and you’ll lift your shoulders, which transfers tension down your spine.
Take a tape measure to the garden center. I’m serious. Hold the tool. Let your arms hang. If the head of the tool doesn’t rest flat on the ground while you stand naturally, put it back.
The two tools I actually use every time:
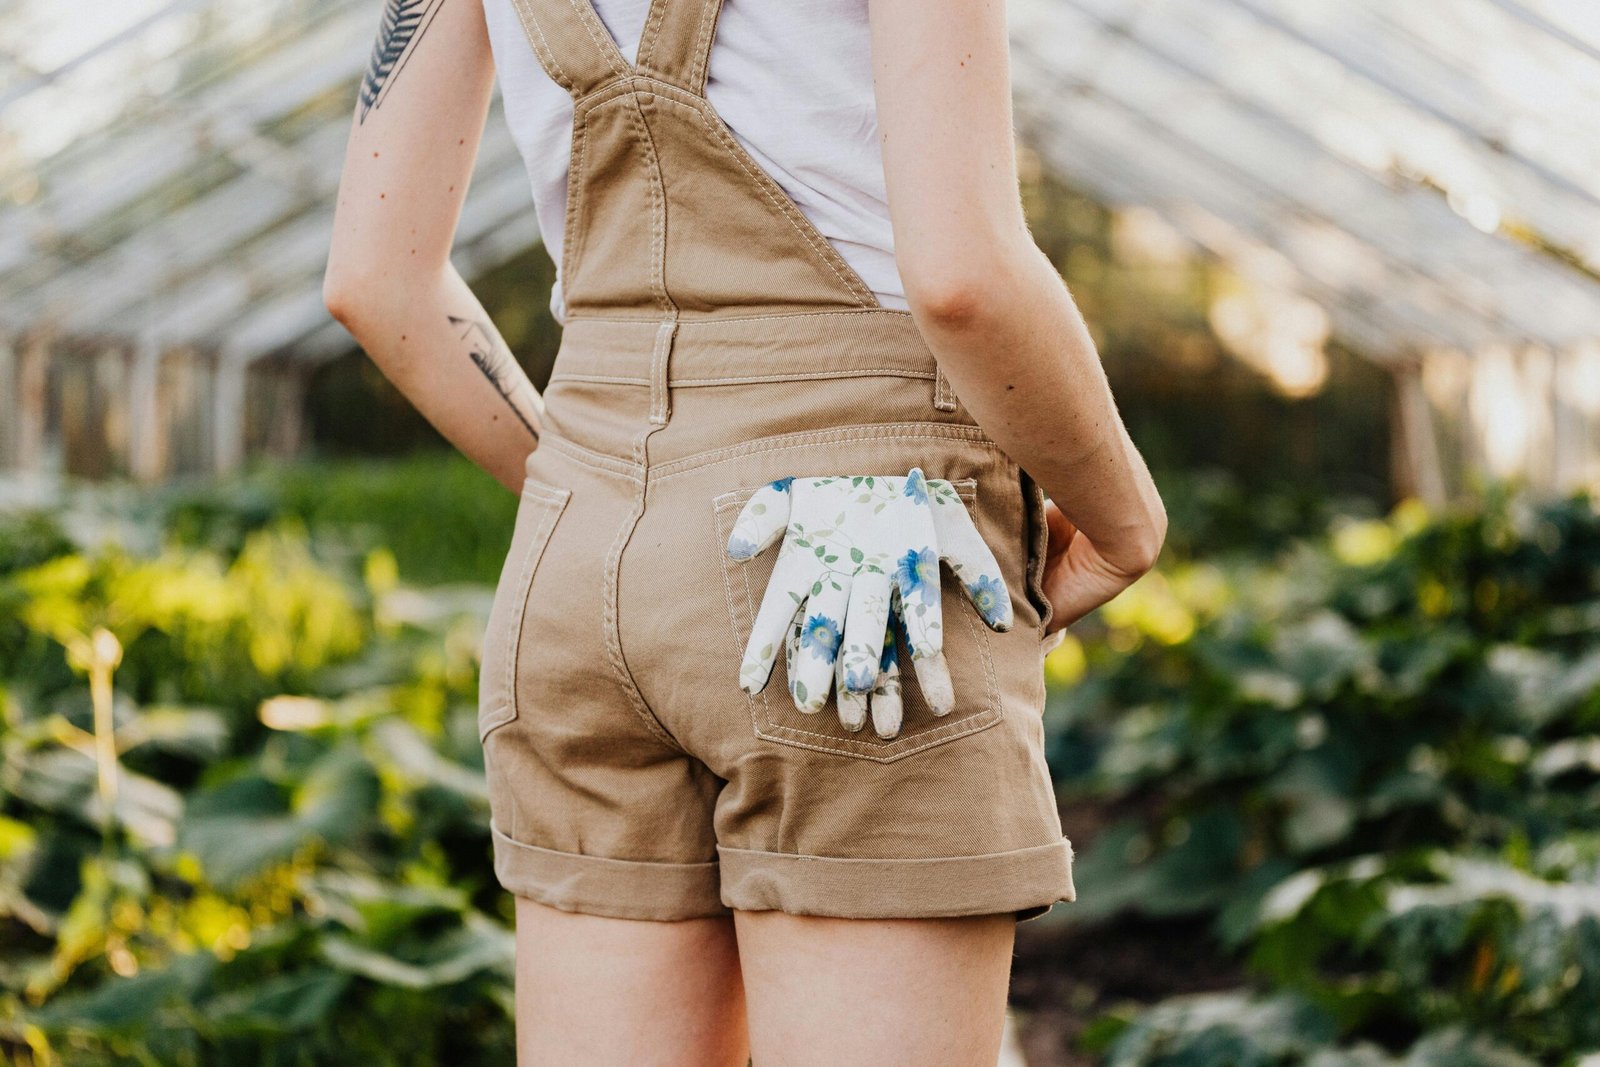
A stirrup hoe (also called a hula hoe). It cuts weeds at the soil level while you stand almost completely upright. The blade is a loop that moves back and forth. You don’t chop or pull. You just slide it under the soil surface. One pass, the weed is severed. No bending. No pulling. Cost me eighteen dollars five years ago. Still sharp.
A soil knife with a wrist strap. For the things you can’t reach with long handles — tight spaces between plants, delicate transplanting, bulbs. You attach the strap to your wrist, then you never drop it. Why does this matter? Because every time you bend to pick up a dropped tool, you’re breaking the rule. The strap costs nothing. Use it.
The raised bed lies (and what actually works)
Someone told you to build raised beds, so you don’t have to bend. Then you built them eighteen inches tall, and you’re still bending because eighteen inches isn’t waist height unless you’re four feet tall.
Here’s the truth: A standard raised bed that’s twelve to eighteen inches tall shifts the bending from your waist to your hips. That’s better, but it’s not a solution. You’ll still feel it after thirty minutes.
The actual solution is one of three things, ranked by what actually works for a bad back:
First choice: Table-height beds. Thirty inches minimum. Thirty-two is better. You work standing upright or sitting on a tall stool. You can build these yourself with concrete blocks and untreated lumber for about eighty dollars per eight-foot bed. No power tools required, just stack blocks, slide lumber into the holes, and fill with soil.
Second choice: Grow bags on wheels. Fifteen-gallon grow bags cost eight dollars each. Put each one on a small furniture dolly from the hardware store for twelve dollars. Now you can roll your tomatoes to a comfortable working height against a bench, or spin the bag so you’re always working from your strong side. I have six of these on my patio. They’ve survived three summers.
Third choice: A garden scooter. This is for people who can’t build table beds and don’t want grow bags. It’s a low-rolling seat with four wheels. You sit on it and roll between rows. Your back stays neutral because you’re sitting. The key is getting one with wheels that lock; otherwise, you’ll drift while you’re trying to pull a weed and strain something reaching to stay balanced. About forty dollars online. Add a foam cushion because the stock ones are terrible.
The surprising discovery I made with table-height beds: They warm up faster in spring than ground beds, which means you plant earlier, but they also dry out faster. You’ll water every 2 days in summer instead of every 4 days. That’s the trade-off. I’d rather water more often than hurt.
How to weed when you can’t pull?
A wedding is the worst offender. You grip, you lean back, you pull. Your entire spine loads up.
Stop pulling. Start slicing.
A sharp hori-hori knife (that soil knife I mentioned) cuts weed roots at two inches deep. You don’t pull the weed out. You sever it below the crown and leave it there. It dies. It becomes organic matter. You never lift anything.
The exact technique: Stand or sit however you’re working. Insert the knife blade vertically into the soil one inch from the weed’s stem. Angle the blade slightly toward the weed. Push down until the blade is two inches deep. Rock the handle back and forth once. Done. The weed will flop over within an hour.
For taproots like dandelions, you need four inches of depth. Use a dandelion digger, the forked tool that looks like a weird snake tongue. Insert it next to the root, push down, and lean the handle away from you.
You don’t pull it. You just lift it out with the tool still inserted. The root comes with the tool, not with your back.
The mistake that took me two years to fix: I used to try to weed after rain, thinking wet soil would make it easier. It does, for the first five minutes. Then the wet soil compacts under your feet, you slip, your body tenses to catch itself, and your back pays for it. Weed when the soil is slightly damp but not wet, two days after rain, not the next morning.
Your watering strategy changes everything
Carrying a full watering can is bending, lifting, twisting, and carrying all at once. That’s the four horsemen of back injury.
Here’s what I do instead:
Drip irrigation on a timer. Thirty dollars for a kit that covers four beds. The timer attaches to your spigot. You set it once in spring. You never carry water again. This isn’t a luxury — it’s a medical device for your back.
If drip irrigation isn’t possible for your setup, use a coil hose. Not a regular hose. A coil hose weighs one-third as much and doesn’t kink. Kinking a regular hose means you stop, bend, straighten the kink, and restart. That’s three bends per watering session. Over a season, that’s hundreds of unnecessary bends.
The exact watering can I use when I must hand-water: Two-gallon capacity, not five. Two gallons weigh sixteen pounds. Five gallons weigh forty pounds. The two-gallon can has a long spout that reaches without leaning. I fill it halfway, one gallon, eight pounds, and make two trips instead of one. More walking, less lifting. Walking is fine for your back. Lifting is not.
The timing trick no one talks about
You can garden for two hours with a bad back if you break it into fifteen-minute chunks with specific recovery in between.
Here’s my actual schedule for a Saturday morning:
- 15 minutes sitting on the ground, weeding with the hori-hori.
- Stand up using the side-lying method.
- Lie flat on my back on a yoga mat for 2 minutes with knees bent, feet flat.
- 15 minutes standing, using the stirrup hoe.
- Lie flat for 2 minutes.
- 15 minutes sitting on the garden scooter, deadheading and pruning.
- Lie flat for 2 minutes.
- 15 minutes at the table bed, planting lettuce starts.
That’s a full hour of actual gardening time spread across 75 minutes with rest. I get more done than I used to in three hours of continuous work because I’m not stopping to rest from pain; I’m resting on purpose before the pain starts.
The lie-flat position matters: Don’t put a pillow under your head. That rounds your neck and upper back. Flat floor, bent knees, arms at your sides. Your lower back will feel a gentle stretch. That’s the discs rehydrating. Two minutes is exactly right; longer than that and your muscles stiffen up.
What to do when you are already hurt?
You ignored everything I just said. Or you didn’t know. Or you were in the middle of something and couldn’t stop. Now your lower back is screaming.
Do not stretch it. Do not do the knee-to-chest stretch that every website recommends. That stretch pulls on already irritated nerves. I did that after my first bad episode and couldn’t walk for three days.
Here’s what actually helps within ten minutes:
Lie on your stomach. Put a thin pillow under your hips. Turn your head to one side. Breathe normally. Stay there for five minutes. This position takes pressure off the back of your discs. The pillow under your hips creates a very slight extension in your lower spine, which opens up the spaces where nerves exit.
After five minutes, roll onto your back carefully, as I showed you, and put a rolled towel under your knees. Stay for another five minutes.
Apply ice, not heat. Heat feels good, but it increases inflammation for the first 48 hours after a strain. Ice for exactly 12 minutes. Set a timer. People leave ice on for 20 minutes and get rebound inflammation. Twelve minutes is the sweet spot.
Take 400mg of ibuprofen with food a handful of crackers counts. Do not take it on an empty stomach. Do not take 800mg. That’s a prescription dose and will hurt your kidneys over time. One 400mg dose now, another in six hours if you still need it.
Tomorrow morning, do not test your back by bending. Don’t “see how it feels.” It will feel better. That’s a trap. Wait two full days before you garden again, even if the pain is gone. I’ve re-injured myself four times by going back too early.
The one thing you do today
Right now, before you close this article, go to your kitchen. Take a kitchen chair outside and set it next to your garden. Not a folding chair, a regular dining chair with a straight back. Sit in it. Look at your garden from a sitting height. Notice what you can reach without leaning. Those are the only things you work on tomorrow.
Then move the chair to a different spot. Sit again. See how much of your garden is accessible from a seated position? Probably less than you thought.
Now you know exactly where to focus your energy, either building table beds in the unreachable zones, or switching to grow bags, or accepting that those areas are now for looking at, not working in.
One chair. Five minutes. That single action will change your entire relationship with your garden. No tools required. No money spent. Just you, a chair, and the decision to garden like someone who plans to keep doing it for decades.